Autumn is here: the air has a crispness; the wind has arrived and brought a chill; the leaves are beginning to blanket the grounds we walk upon in our boots and warmer shoes; the trees are beginning to transition from green to golds, oranges and reds…welcome to Snuggle Season!
Allow me to take you back in time to June 2025. The Sewing Studio were having an utterly FANTASTIC Deal of the Week sale and I managed to get the following Lewis and Irene prints for just a few pounds-per half metre.
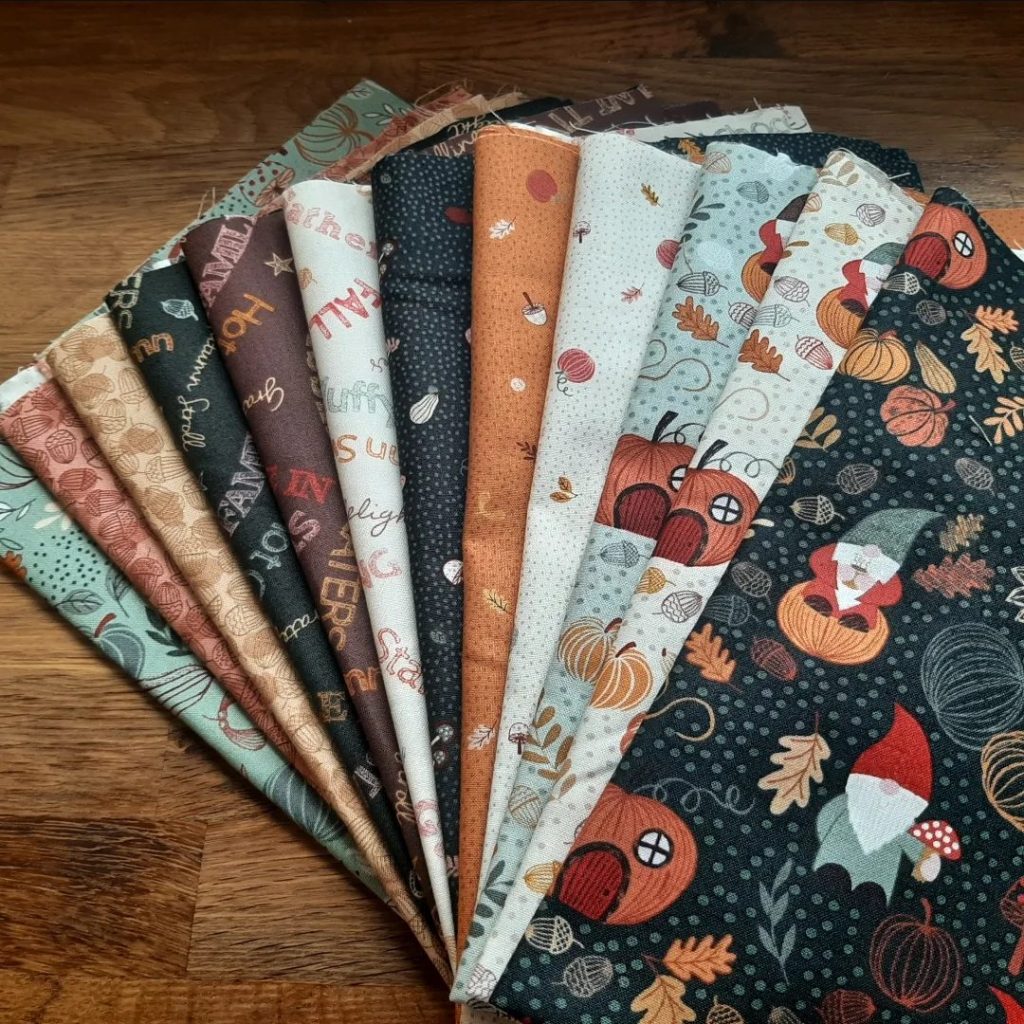
The fabric collection is called Snuggle Season and it seemed perfectly fitting for me to name the quilt after it.
There were a few more fabrics in the collection, I think 3 more colourways of prints I already had so I wasn’t too upset at missing out on them. And that was where things remained for a few months. I knew I wanted to make an autumn quilt but I had no idea what pattern I wanted to follow or even create.
And then one cold night after a late shift at work I got home, made myself a brew and turned the TV on to relax and make me sleepy. Within minutes I came across a video on YouTube from a channel I’d never watched before. The channel was Boundary Road and the video was Scrap Quilting Made Beautiful. Not only did that 32-minute video make me more relaxed than I’d felt for a long time, but it inspired me, there and then, to turn my 12 half-metre cuts of fabric into a quilt just like Claire had designed in the video.
Now this was still months before my husband planted the seed of a blog in my mind so I didn’t take a single photo of the creation process of the blocks! But if you’re interested in making one of your own then just watch Claire’s video and she will show you what to do there.
I still struggle with progress photos as I get so immersed and relaxed into my projects that I forget anything or anyone else exists!
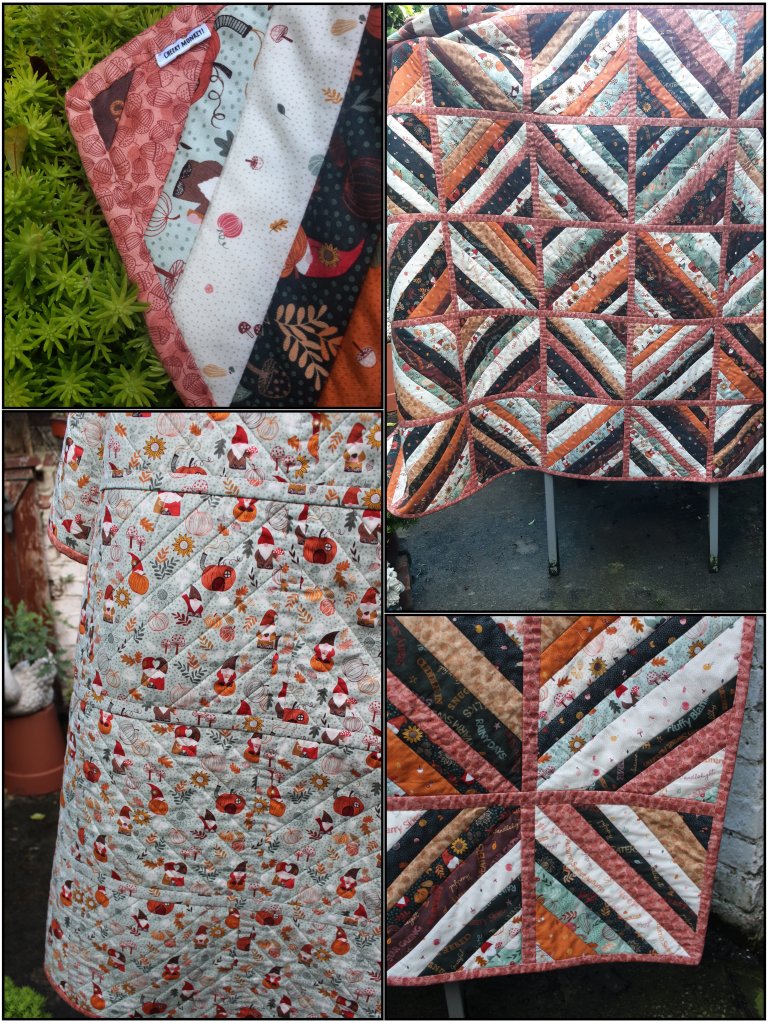
So in true Blue Peter-style…here’s one I made earlier! This is the only quilt I have made so far that uses one entire fabric collection and not a scrap of any other fabric – it is front to back Lewis and Irene Snuggle Season. Once I’d decided to create my own version of Boundary Road’s scrap quilt I calculated how much metreage I’d need of the focus-print gnome backing and sashing and blush-coloured acorn sashing fabric and I ordered double! Well not really, but judging by the amount of the two fabrics I have left over I wasn’t far off!
This was a quilt-as-you-go quilt and that simply means that instead of making a quilt top and then sandwiching it together at the end with wadding and backing fabric, before quilting the entire quilt top at once, you sandwich it as you go on each block. Each block was sewn to measure 11″ and then trimmed down to 10½”.
I started the quilt by cutting each of the half-metres of fabric into strips, sometimes known as ‘strings’. I knew this quilt would take all of the fabric so I didn’t get precious about wanting to save bits, I just cut all of the half-metres up into strips of different widths, ranging from 1½” to 2½” by width of fabric. Then I laid them all out at the end of my ironing board because that was in easy reach when I was sat at my sewing machine. I had a massive bundle of super low loft wadding that I wanted to use up so I decided to use 3 layers of it together to make the quilt extra warm and snuggly. And then I cut up my backing fabric into squares the same size as my wadding, which was 11″ x 11″. So then I was ready the begin constructing all 56 blocks, one at a time. No chain piecing. No speed sewing. Just mindless, stitchy relaxation.
My only rule for consistency within the blocks, was to sew the very first 2 strips of fabric together down the diagonal centre of the square, and when I trimmed them all down to 10½”, at the end, I made sure to centre my cut over this line.
I selected 10-12 strips of different fabric per block of varying widths. You sew them together directly onto the wadding and backing and that creates the quilt-as-you-go effect, which means there is no quilting a huge monster of a quilt at the end on your domestic machine. Once sewn together it is finished because you quilted it as you created each block!
Another major bonus for me with this quilt was that it was heavy on the hand-stitching. I know some people are not fans but I love the relaxing nature of hand-stitching and it was that part in Claire’s video that inspired me most to make this quilt.
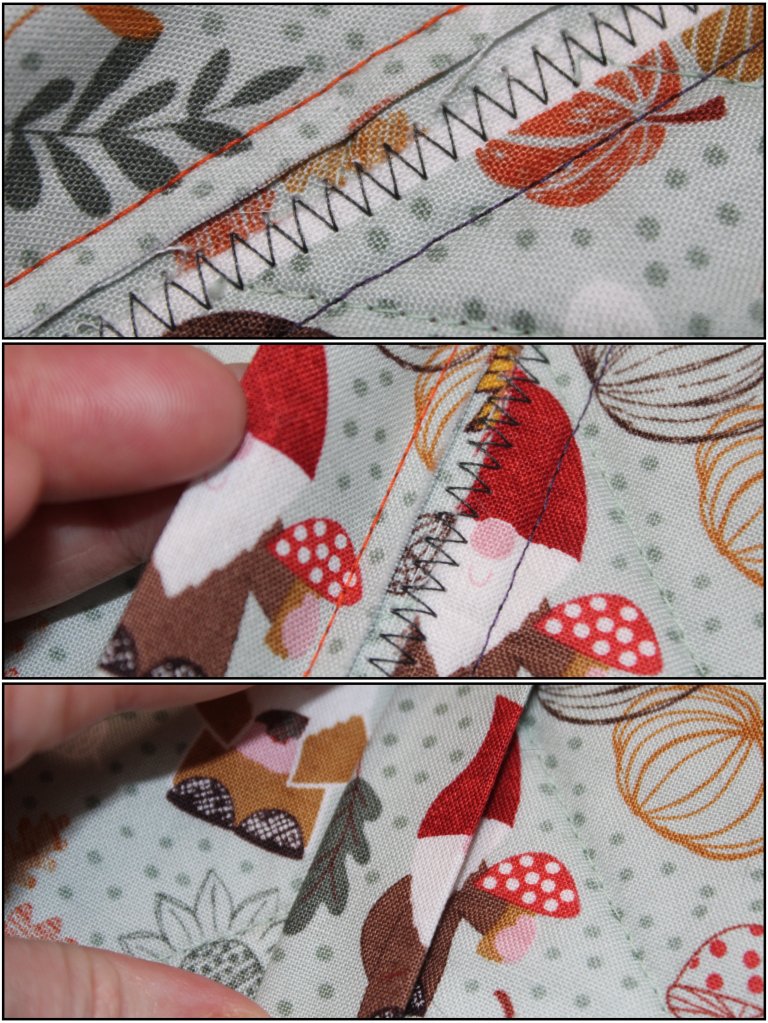
Once all the blocks were sewn and trimmed I laid them all out on the dining room floor into a design that pleased me and then I labelled each row, ready for sewing them together. The front sashing is stitched to the right-hand side of the front of the blocks and the back sashing is stitched to the right-hand side of the back of the blocks. I wanted my front sashing to stick out but my back sashing to blend in and look as though it could be one whole piece. Once the sashing had been sewn to each block that needed it, I zig-zag stitched each block together where they butted up to each other. The photo above shows how the blocks look when zig-zag stitched together, then you just fold the sashing back on itself and hand-stitch it in place using an invisible stitch so it just covers the row of stitching from the other block where the sashing was stitched to that from the other side.
You could, of course, machine stitch your binding down. Another YouTube channel I follow is Pattern Poole TV. This mother and daughter duo specialise in quilt-as-you-go quilts and techniques and I am a massive fan. If you’re curious about this fascinating technique then definitely watch some of their tutorials.
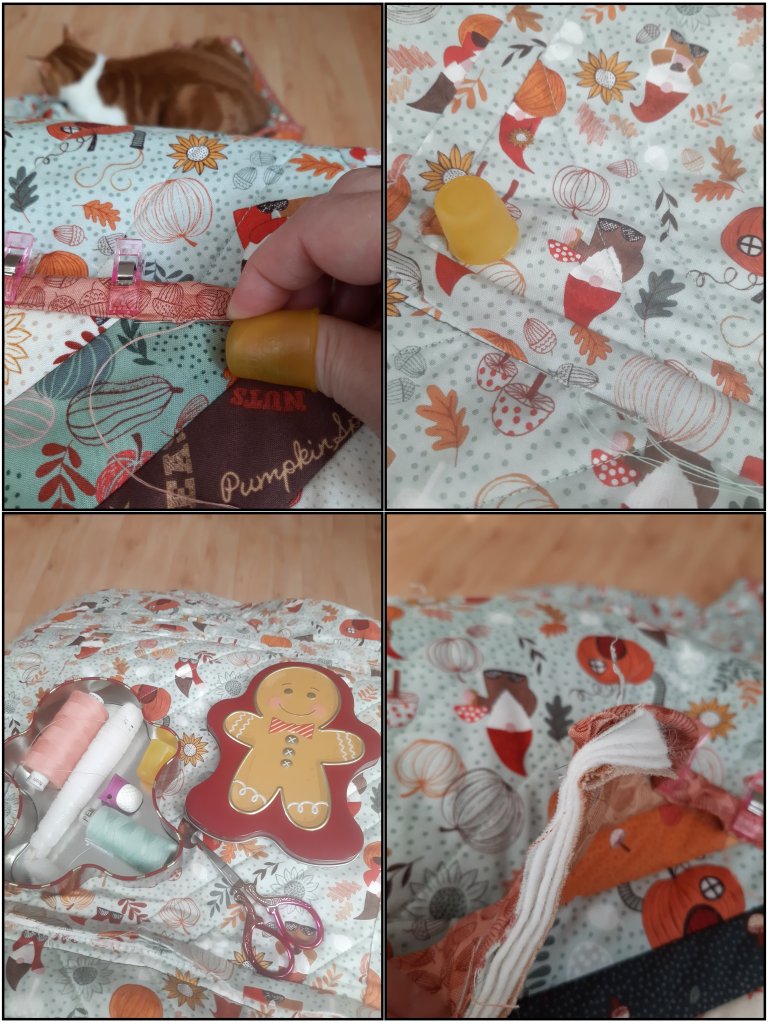
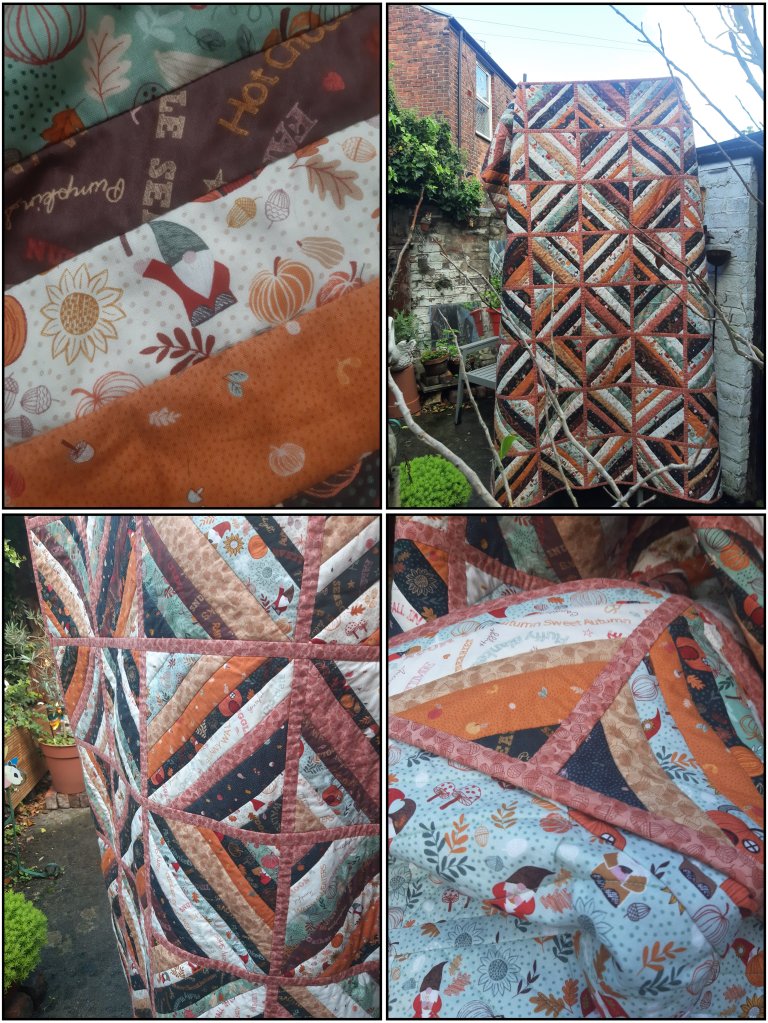
This was my set-up for hand-stitching all that gorgeous sashing (and binding) down. I’d sit in the living room window soaking all that glorious daylight up. The final photo in this collage shows the cross-section of a quilt block and those 3 layers of low loft wadding. It sure is a weighty quilt but we’ll probably be glad of the extra warmth soon. (The cats have been close by throughout this entire process, they claim the quilt at every available opportunity!)
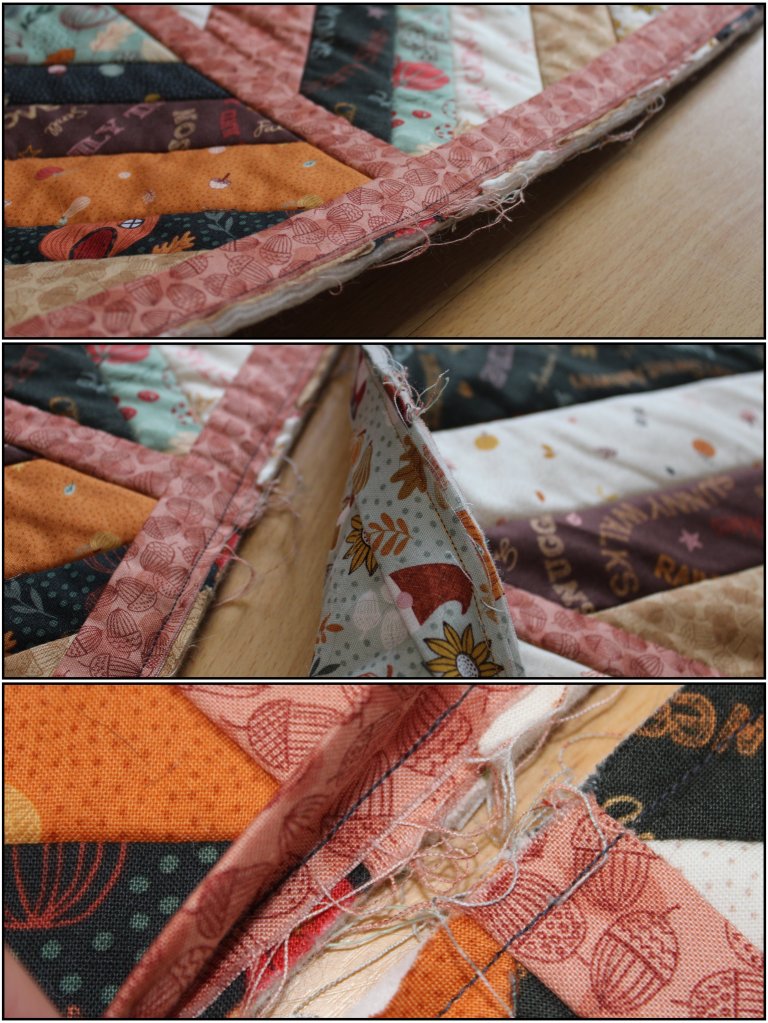
Once all the blocks were joined into rows it was time to join the rows together. The above collage is just to show you how two rows would come together before they were zig-zag stitched on my machine. I cut as many of the loose threads off as possible while I sewed, but they’d all be sealed inside the sashing anyway so it didn’t bother me too much. Once the longer, horizontal, sashing was added and hand-stitched in place it made the shorter, vertical, strips of sashing look like they were all one piece and everything crossed over beautifully.
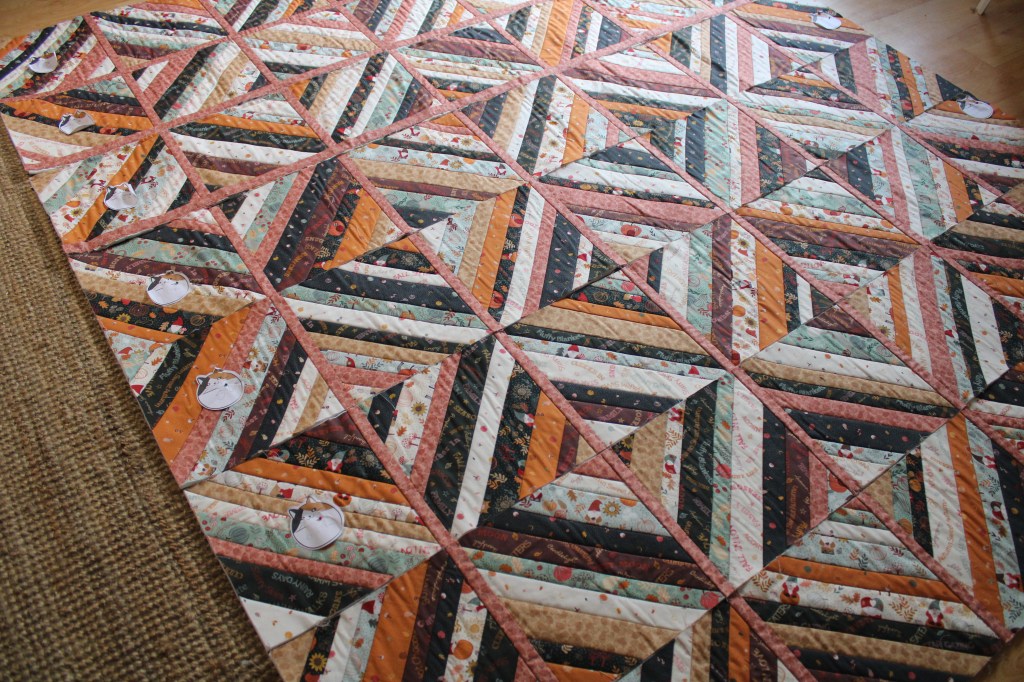
The image above shows the first three rows with their sashing stitched in place.
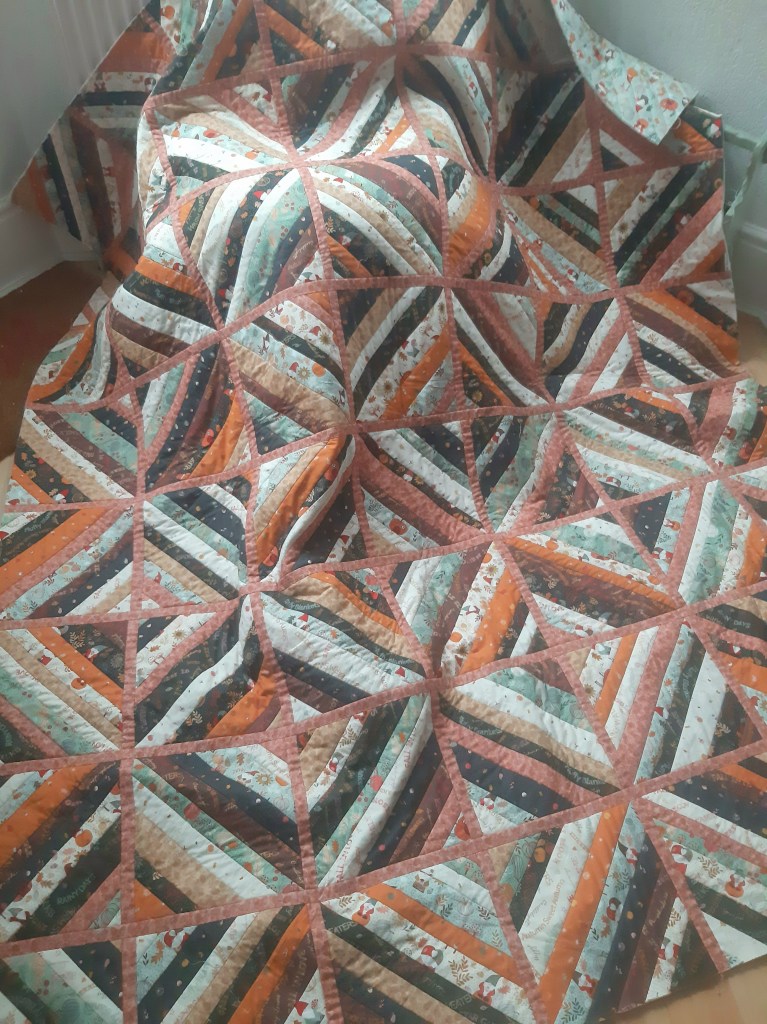
This photo above shows the quilt with front and back sashing complete and awaiting the binding – this was a very happy moment!
Due to being extremely frugal with my fabrics and absolutely hating waste I would incorporate as much of the strip of fabric in my blocks as possible and this sometimes meant the selvedge was visible…
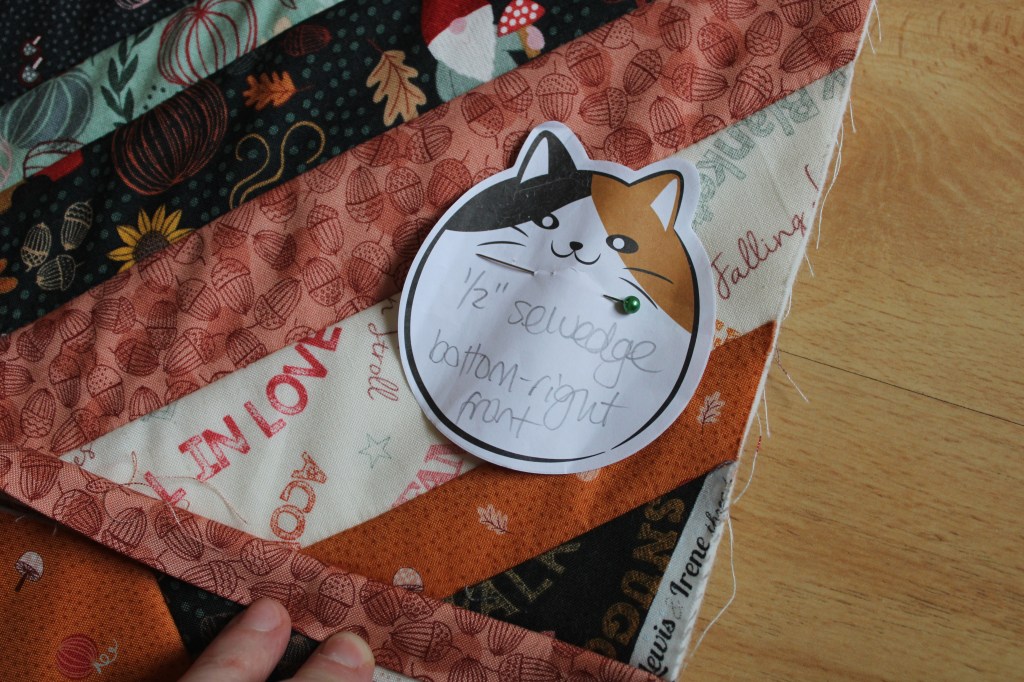
…when this happened I was sure to add a note to remind me of it and I would strategically place this block in a place where it would be covered. For instance, the above block ended up on the end of a row because the binding would be wide enough to cover it fully.
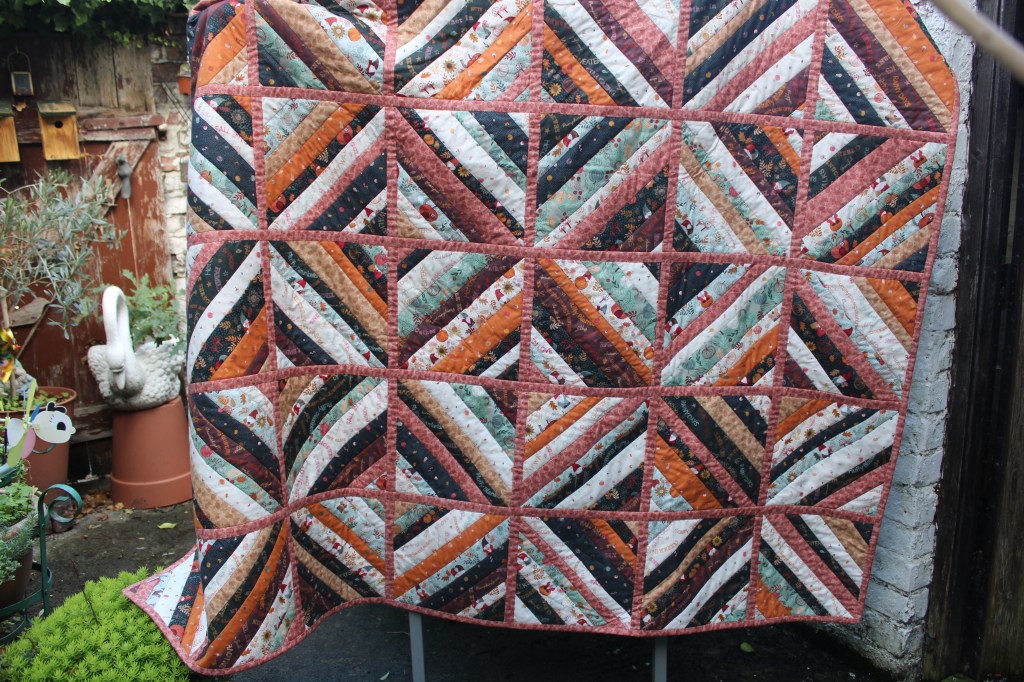
And this is my Snuggle Season quilt finished after machine stitching the binding to the back of the quilt and hand-stitching it to the front. It was an absolute joy to make and that was made all the sweeter when I would come across a waving gnome or a cute pumpkin house! The quilt was way too big for my husband to hold it up by himself while I photographed it – it’s a very decent 70″ x 80″!
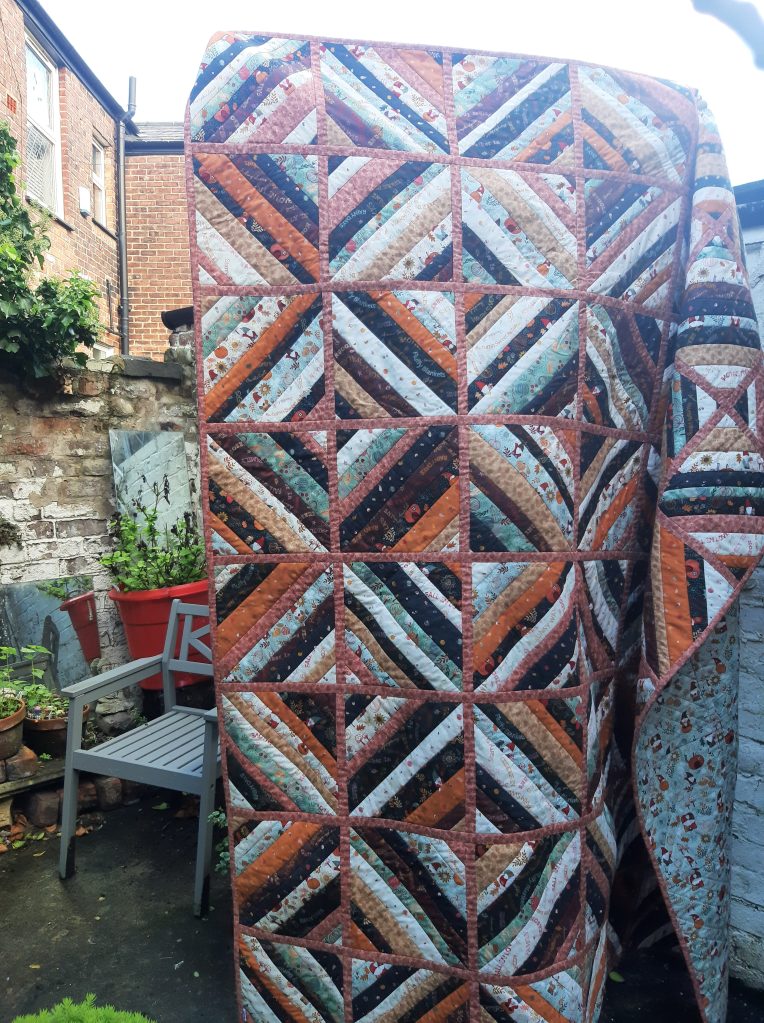
I love the effects from the diagonal design and how the sashing is reminiscent of a stained-glass window.
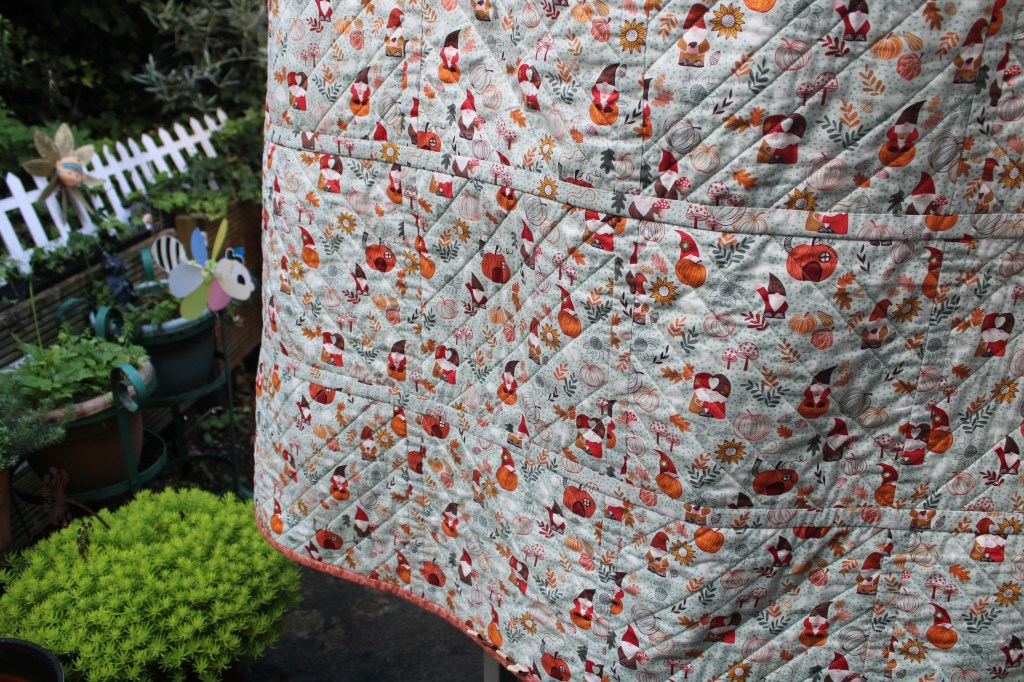
And just look at this texture on the back, lush. Due to the nature of the stitch-and-flip quilt-as-you-go method, the only thread that showed from my sewing machine on the quilt was on the back, from the bobbin – so that meant I could use up loads of odd spools of thread for the top thread of my machine because it would be buried within each seam. It satisfied me to use up dozens of tiny spools I’d inherited, as well as some slightly dirtied threads and even odd-coloured bobbins I’d wound and not fully used over the years. This also made the quilt deeply sentimental as there were loved ones’ threads stitched into my quilt. Perfection.
So that’s all folks!
Has this inspired a desire within you to create a snuggly autumnal quilt of your own?
What do you think of the Snuggle Season fabrics?
Would you hand-stitch or machine stitch your sashings down?
Is anyone else crazy about autumnal colours, like me???
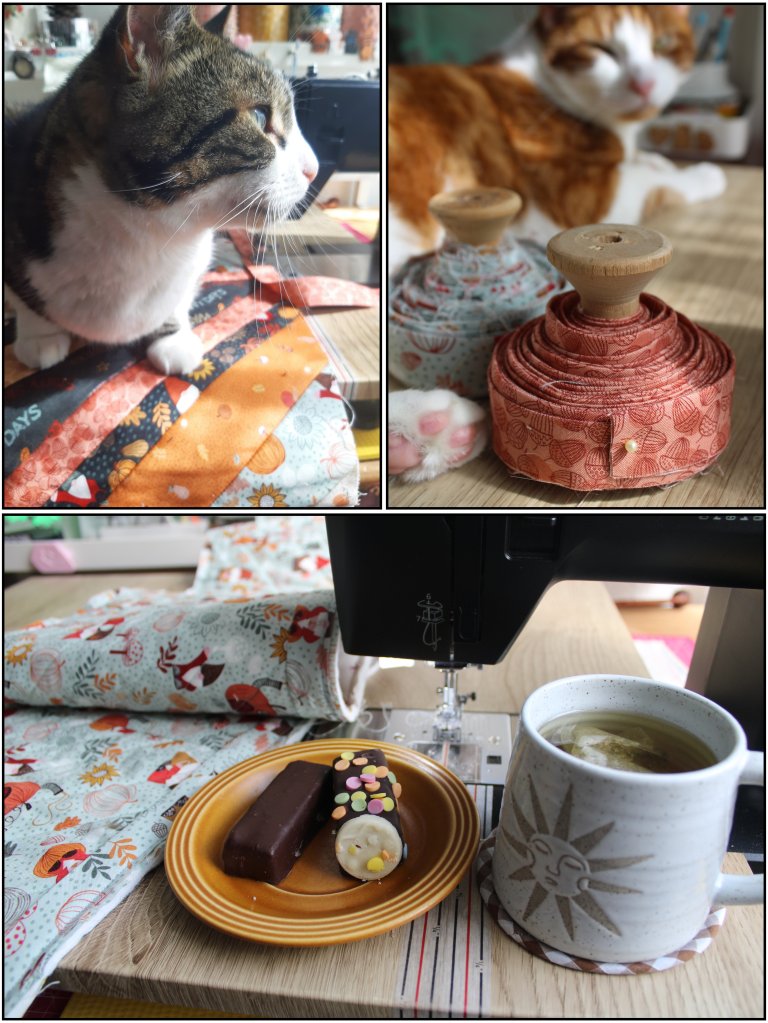
This quilt was sponsored by snuggles and snacks!!
Happy stitching everyone x


Leave a comment