As the beautiful summer begins to fade and we look forward to a crisp and cosy autumn I thought I’d share a few bags I made last year for Christmas gifts for friends.
This pattern is the Quilty Weekend Zipper Tote by Erica Arndt. This link will take you to the pattern in Erica’s shop and I will also link the YouTube tutorial here. As mentioned many times before, I am a huge fan of Erica, the queen of the YouTube tutorials in my opinion!
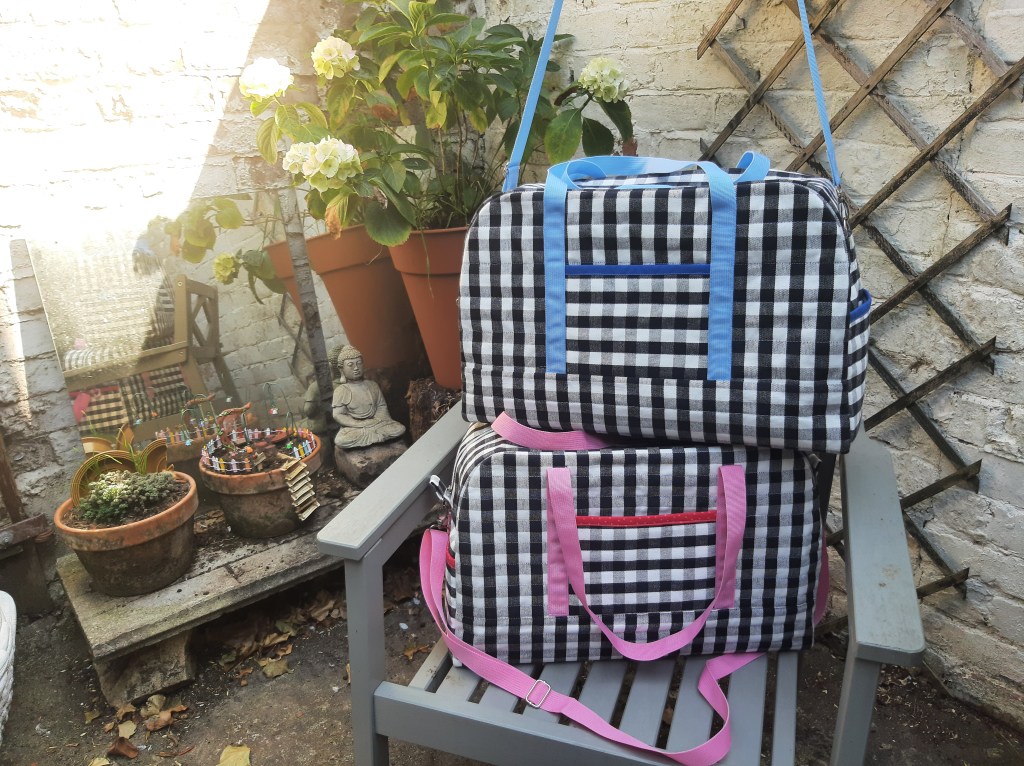
I actually made 3 of these bags, the first being for me! And then I knew what tweaks and personalisations I wanted to make for the two gifts. For the gifts I had a home furnishing weight gingham from IKEA and for the linings I bought a polycotton. Believe it or not the linings are from one of those ‘pound a metre’ online shops – I fell in love with the patterns and have used many of these types of fabrics for quilt backs and they are very good quality and hold up well in the wash, they also quilt beautifully.
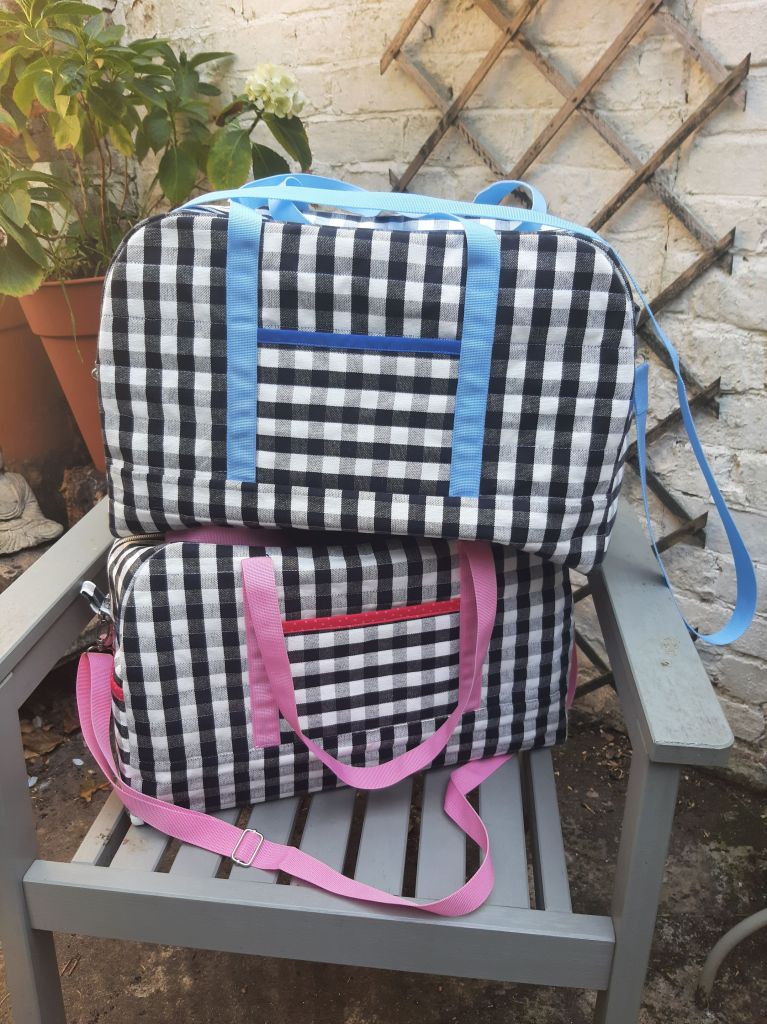
This pink version was for a friend who loves pink and as someone myself who, in the last few years, has also fallen in love with pink, it was hard to part with!
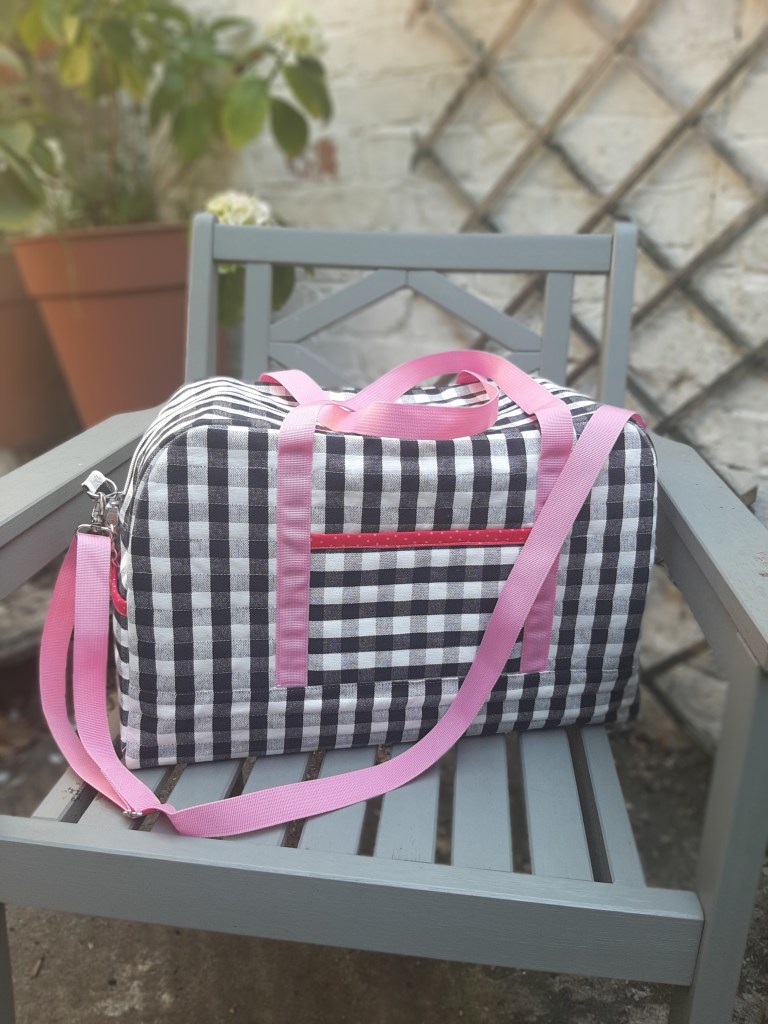
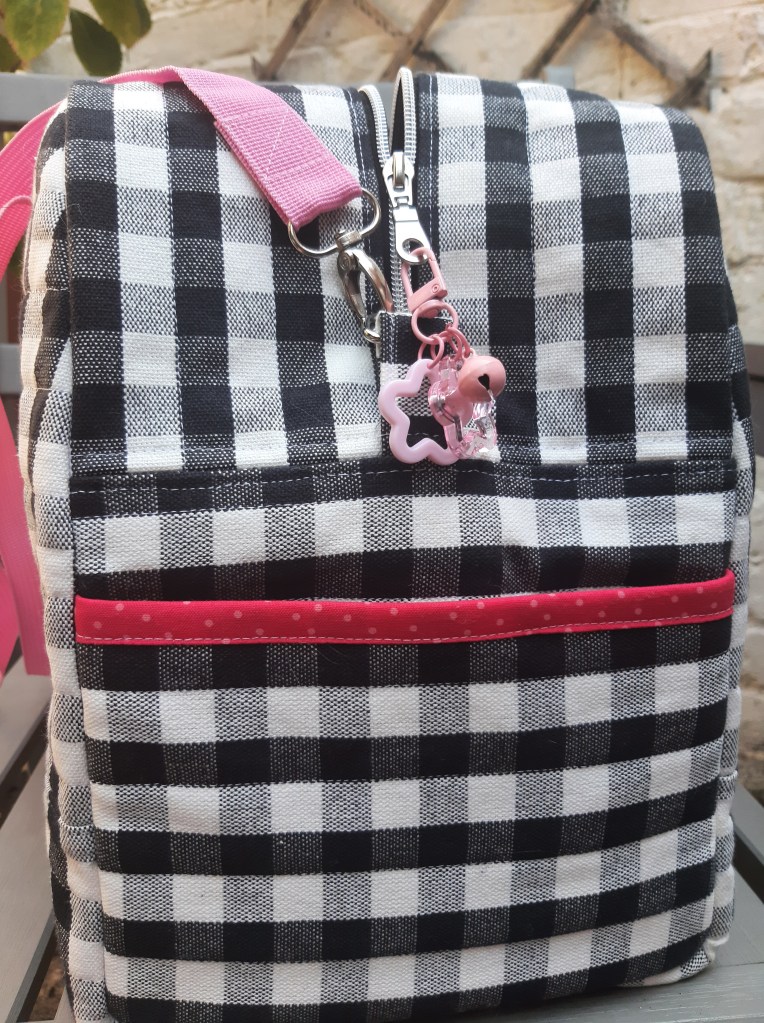
Along with the main fabric and lining I added an accent fabric for the pocket binding – these fabrics are practically vintage and I don’t know how I’ve managed to add these spotty fabrics to so many projects over the last 30 years without using them up yet!
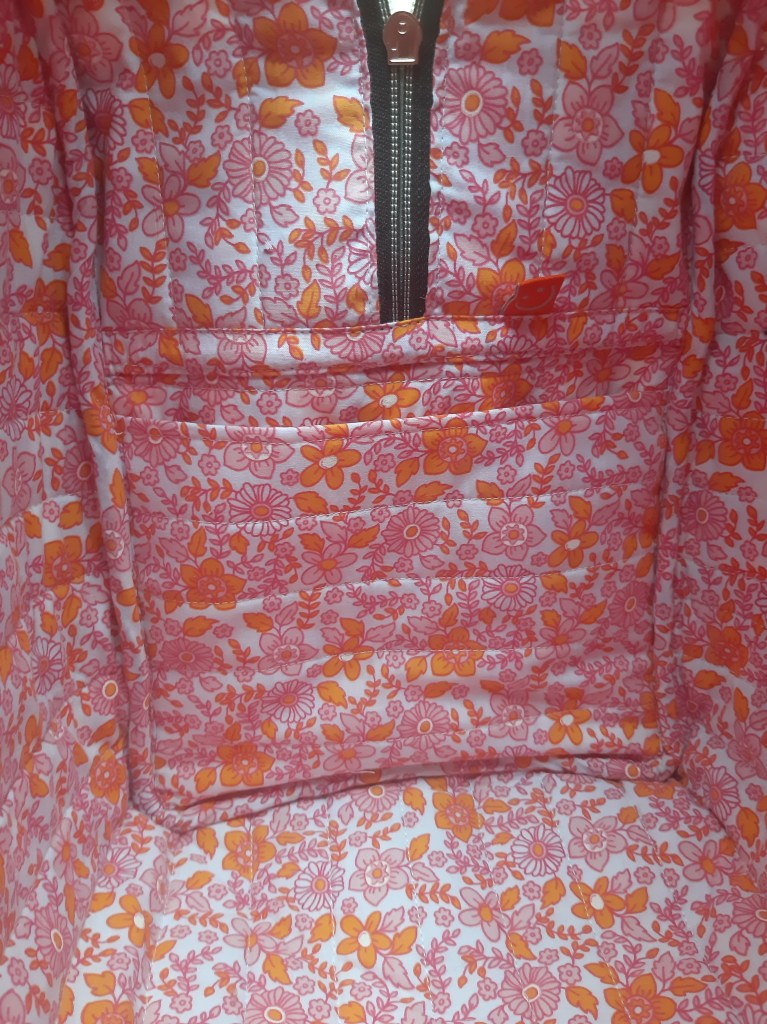
Look at this lining fabric…swoon!
One thing I have made my mission this past year has been to master binding. As a sewist of many decades it wasn’t until last year that I realised I have never really used binding that often, quilt binding aside, in my projects so I started by making some coasters for my craftroom. I used denim scraps and quilted them and then I cut bias binding and did my best to attach it following a few tutorials – Erica Arndt shows this in many of her videos!
Four coasters later and I was feeling excited to bind bags and confident I would make a good job of it. I really enjoy the binding process in my bags and other projects now and I even adapt lots of patterns to put the binding on the outside and make a feature of it.
I also added internal side pockets to these bags, one on each end. I wanted some kind of semi-hidden storage that always comes in useful for keeping phones and payment cards safe yet easy to grab.
The bag features carry handles as well as a removable adjustable strap.
The lady who received this bag uses it as a project bag and also stores all of her “best yarn” in it – I am honoured!
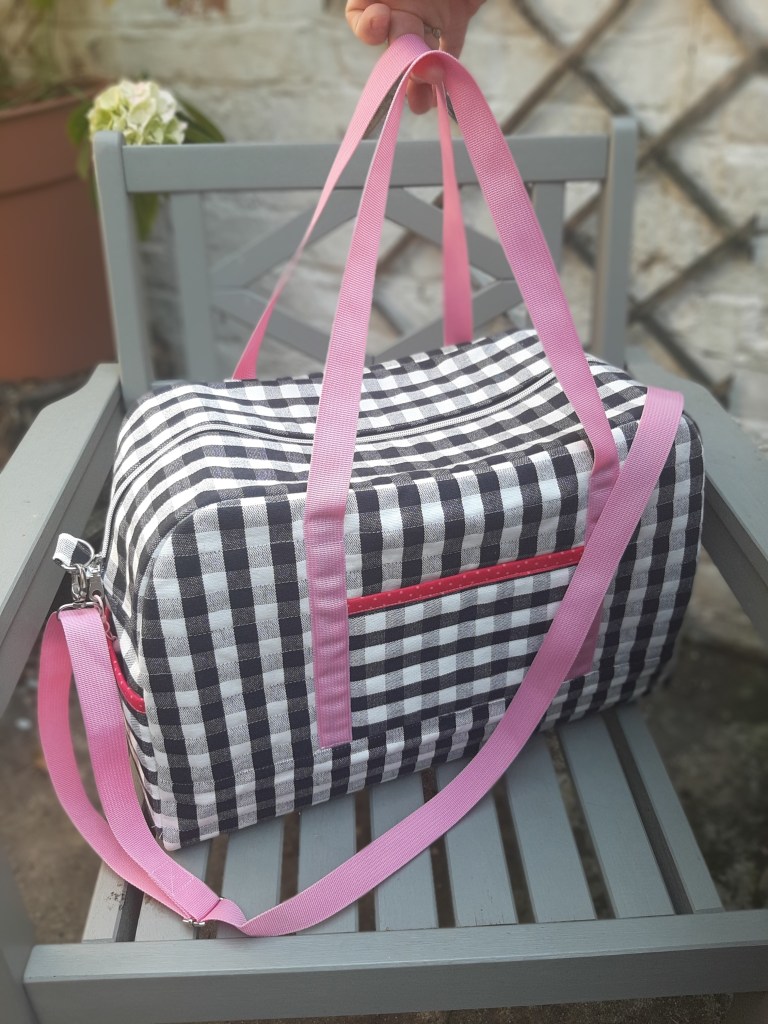
Next up, the blue version…
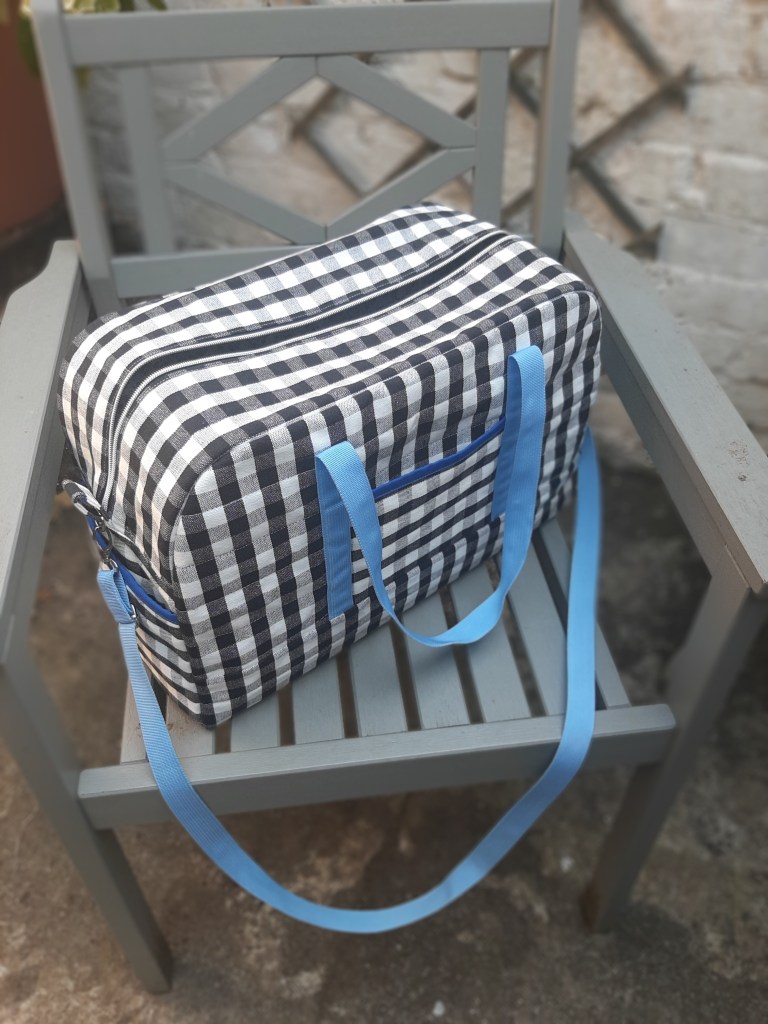
This version was for a friend who doesn’t really like pink but loves blues, greens and browns. As I had already fallen in love with the lining online, I decided to make hers a blue bag. The mid-blue accent fabric here is from my trip to Kansas in 1999, another modern-day slice of vintage.
The gingham fabric was a dream to quilt. The bag I made for myself also used a home furnishing weight fabric from IKEA – the type you get in 3-metre bundles – but the grain of the fabric was a little more raised so my straight-line quilting jumped into staggered and uneven lines which disappointed me and when I did a sample quilt sandwich using this gingham I was really pleased it didn’t do the same. The handles are made from a nylon strap and are really strong. The benefit of the nylon, in my opinion, being that I can melt the ends with the heat from the iron or even a lighter and if any raw edges need to be on show they look neat and ‘finished’. No need for bulky folds to disguise the edges.
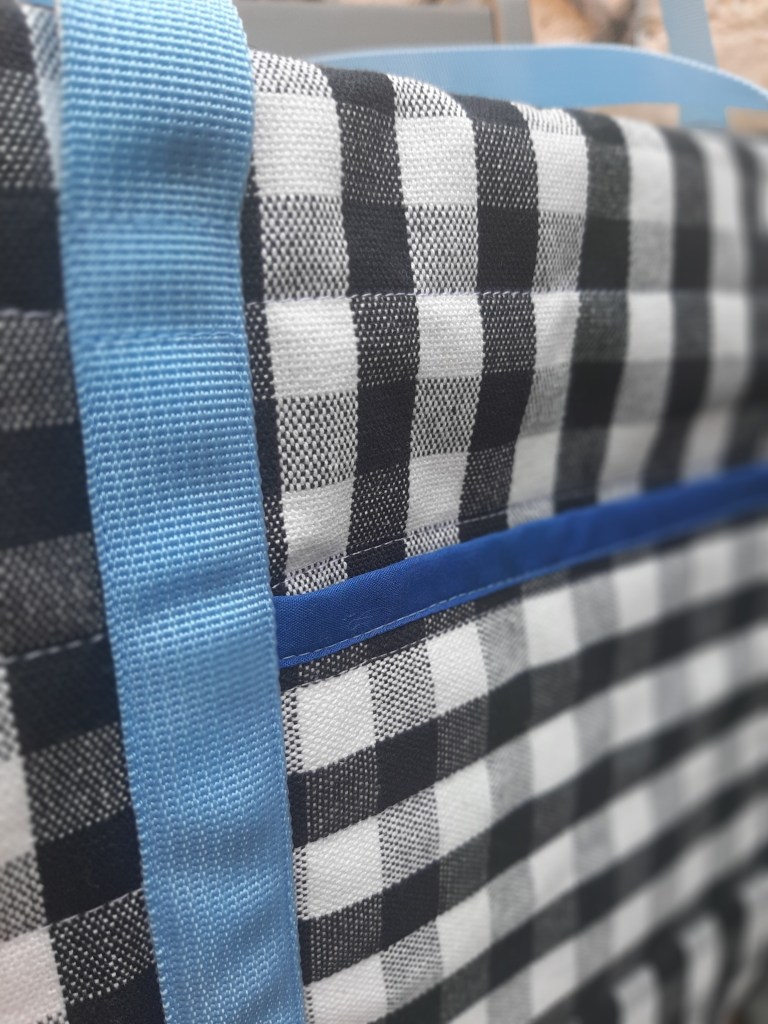
Here’s a little sneak peek of the inside of the outer pockets. I love that little pop of lining pattern and colour.
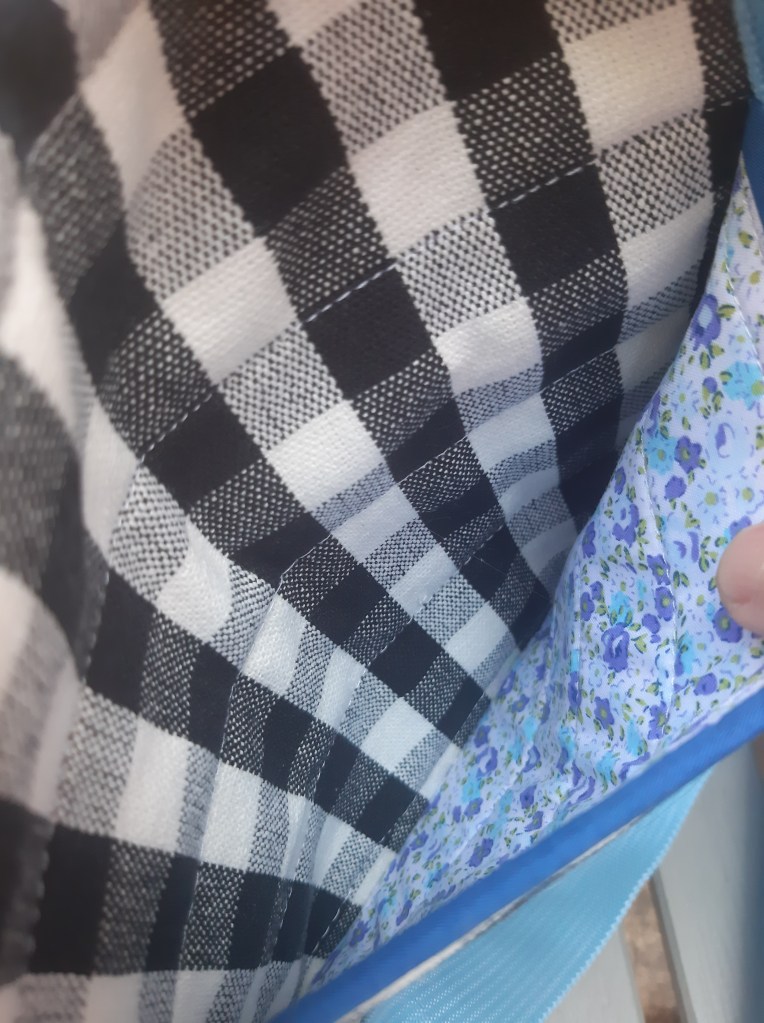
This is a very spacious bag and what I really like about it is that the lining is quilted to the outer panel, as opposed to being loose within the bag.
These kind of projects are exciting for me from start to finish. First you get to choose the fabrics and notions and when everything is cut you get to quilt it all before construction begins, it’s a bit like making a quilt in reverse!
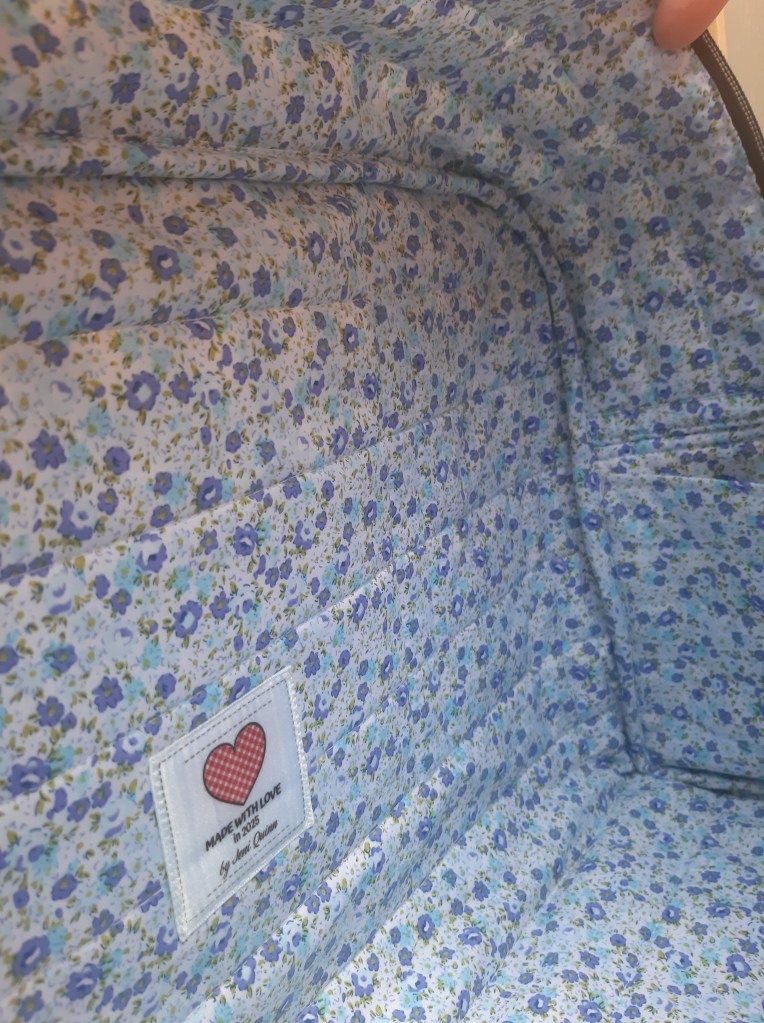
The version I made for myself has been used for overnight stays and there has been loads of empty space inside after packing clothes, shoes, toiletries and crafting projects in it.
The #5 zip I used for the bags is nylon, designed to look like metal.
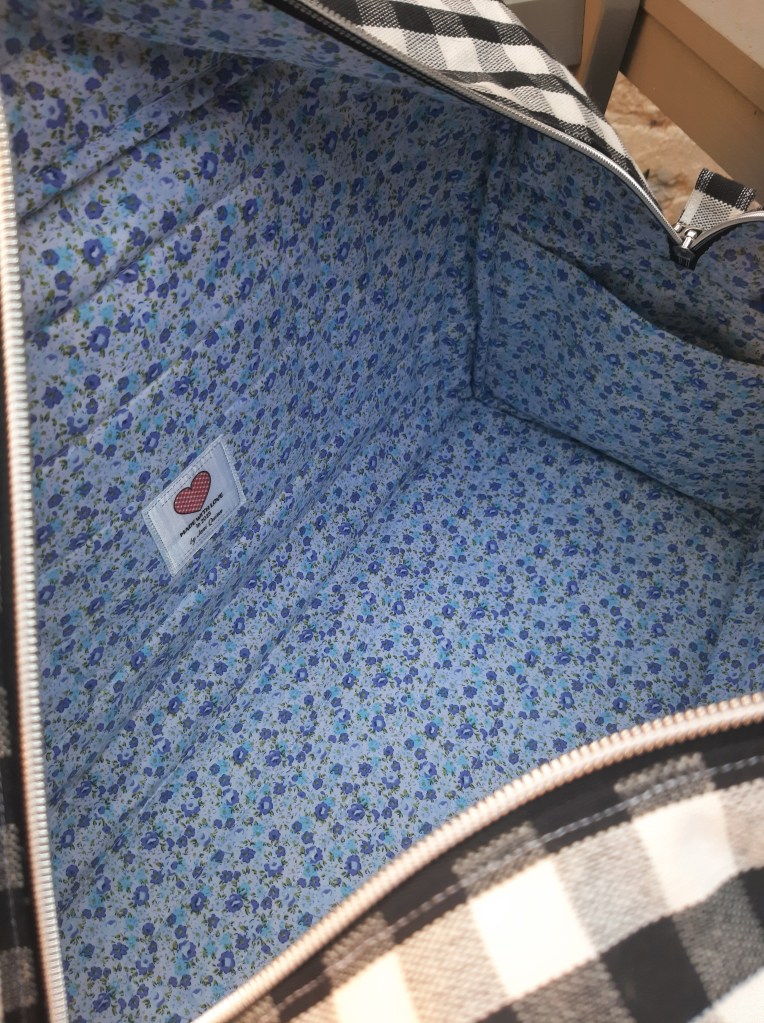
I hope you’ve enjoyed having a nosey inside these beautiful bags.
Please pop over to Erica’s Instagram feed for a look at her most recent creations and her blog is also a great source of creative inspiration – she really is the best.
Do you like quilted bags?
Which version do you like best, pink or blue?
Have you ever bought fabric from the ‘pound a metre’ shops and if so, what do you think of them?
Happy stitching everyone x


Leave a comment