This is a tutorial for how to sew a flat, vinyl-fronted project bag where I have used Tilda fabric, purchased from Hollie’s Haberdashery, for my backing and Lori Holt fabric, purchased from Oakapple Haberdashery, for the front and lining.
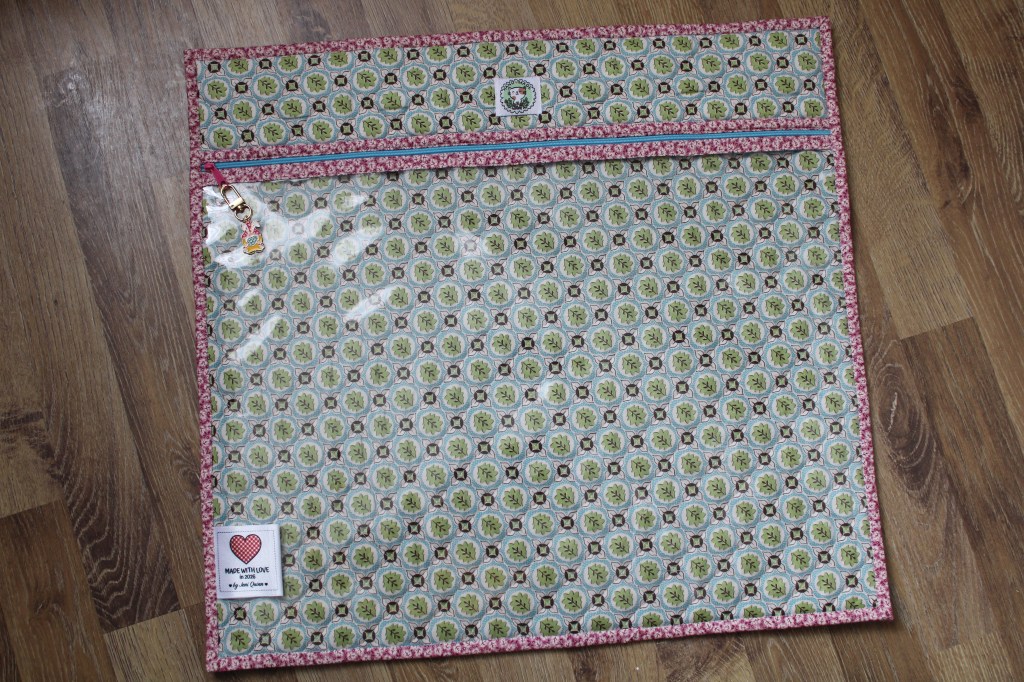
This bag measures 20″ wide by 18½” high. I wanted it as big as I could get it out of the fat quarters I used because I want to use this as storage for finished quilt tops as they await being quilted.
The Tilda fat quarter, Flowervases, came in my 2025 advent calendar and because it is such a large print I knew I wanted to use it for something like this so I didn’t have to cut it down smaller. I bought the Lori Holt Mercantile print from TexStyle in March where I was able to have a chat with Ellie of Oakapple Haberdashery, whom I’ve met a few times before – she’s so knowledgeable and helpful.
This tutorial does not specify sizes. I wanted to lay out the basics so you can make one of your own zipper bags in whatever size you choose. It’s my first-ever tutorial and while I have tried to cater to beginner sewists I realise I may miss the mark is some areas – it’s a learning curve for all of us! Maybe you could leave me a comment telling me what I’ve done right and where I could improve, if you feel I’ve missed anything out. Alternatively, feel free to message me through Instagram where we can have a chat.
How do I make a flat zipper bag?
Let’s start with an overview of what is needed to make one of these vinyl-fronted zipper pouches…
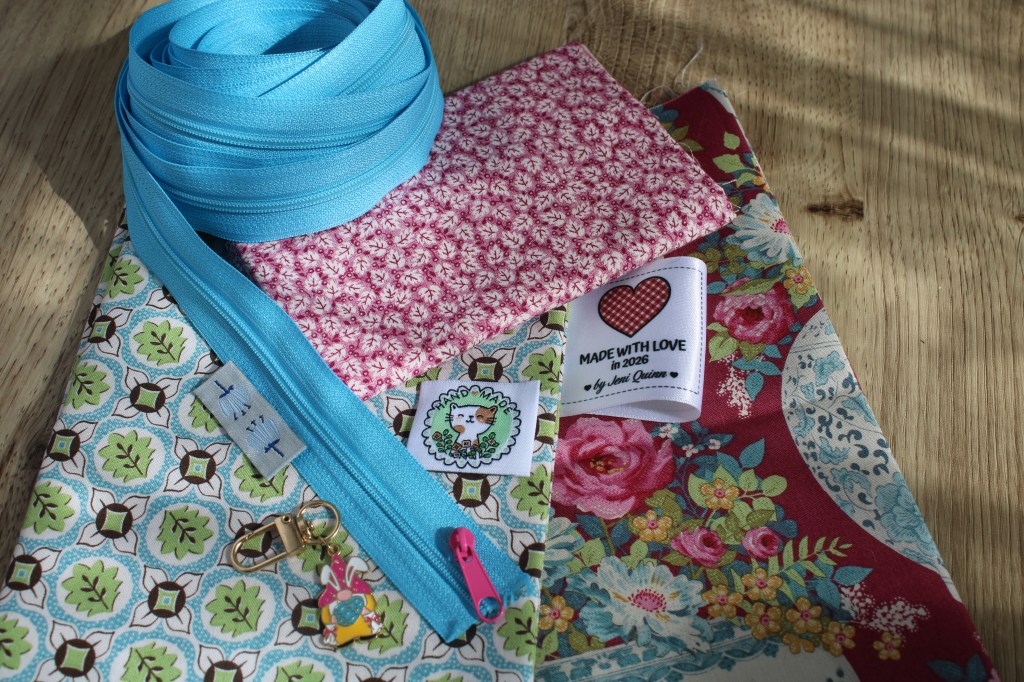
- Fabric for the back, lining, and front (above zipper)
- Vinyl for front (lower portion)
- Zipper – width of finished size
- Binding fabric (not cut on the bias)
- Wadding/batting (enough for the full back and the front)
- Any decorative embellishments such as labels and charms
Decide on your bag’s size and cut the fabrics a little larger than their finished size will be to allow for trimming it up after quilting the pieces.
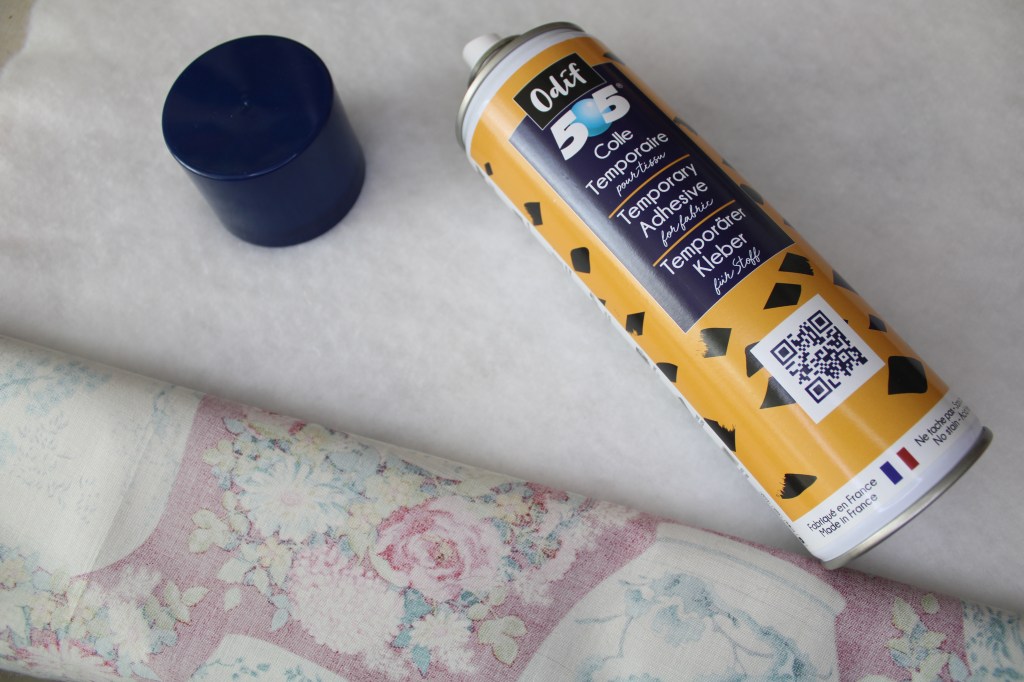
Baste the backing (I used Tilda fabric), wadding and lining fabric (I used Lori Holt) together using your preferred method (examples include basting sprays, hand basting, pin basting) so you are ready to start quilting.
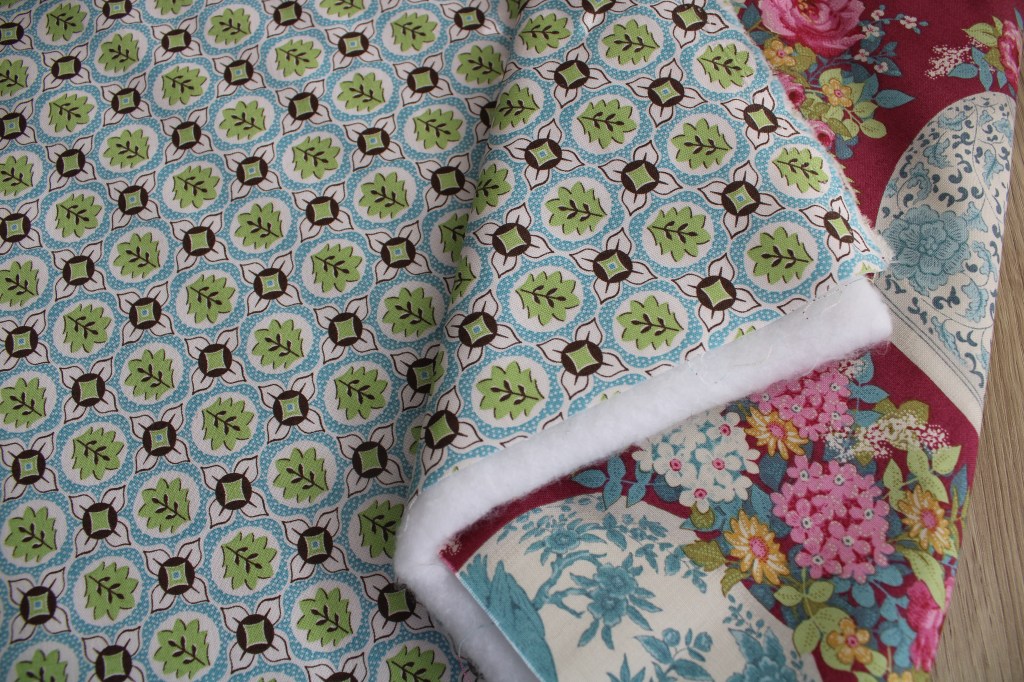
This ⇑ is what my basted quilt sandwich looks like before I started quilting it.
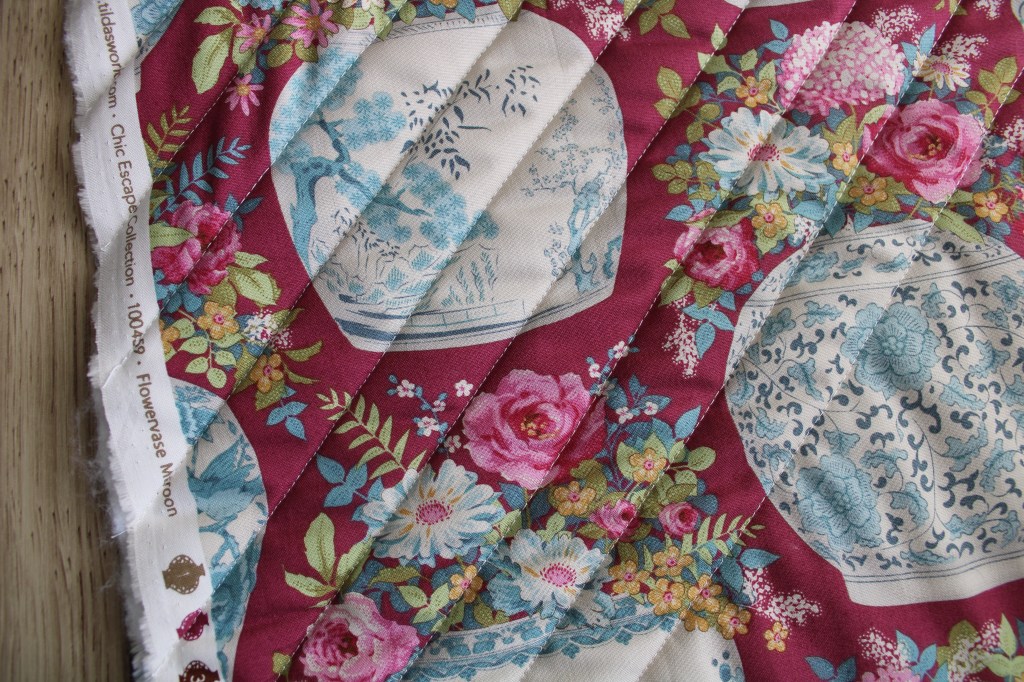
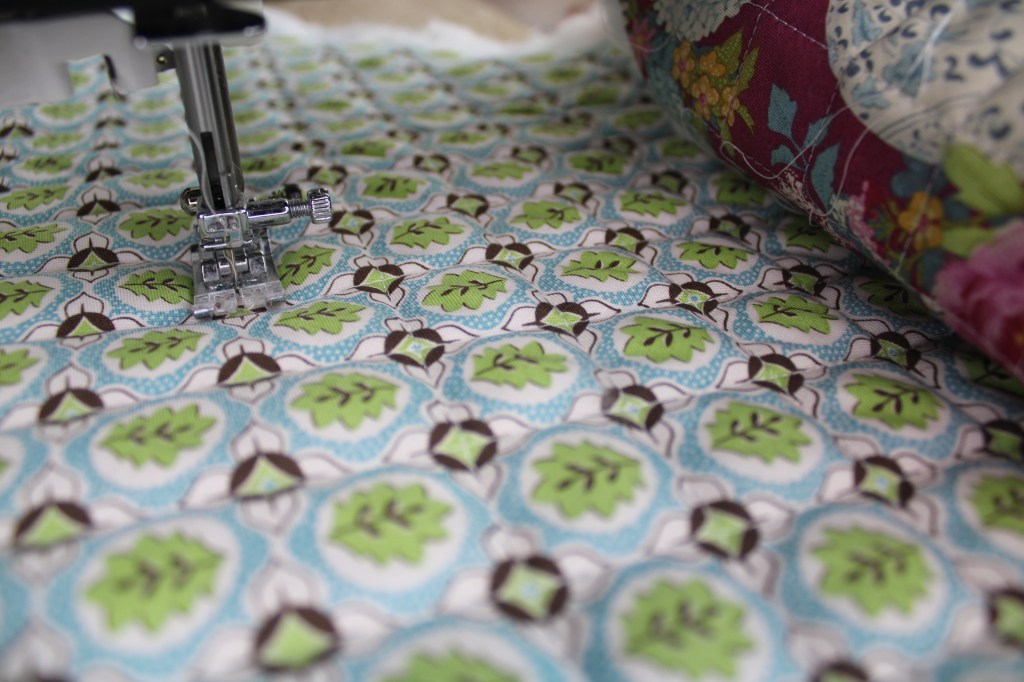
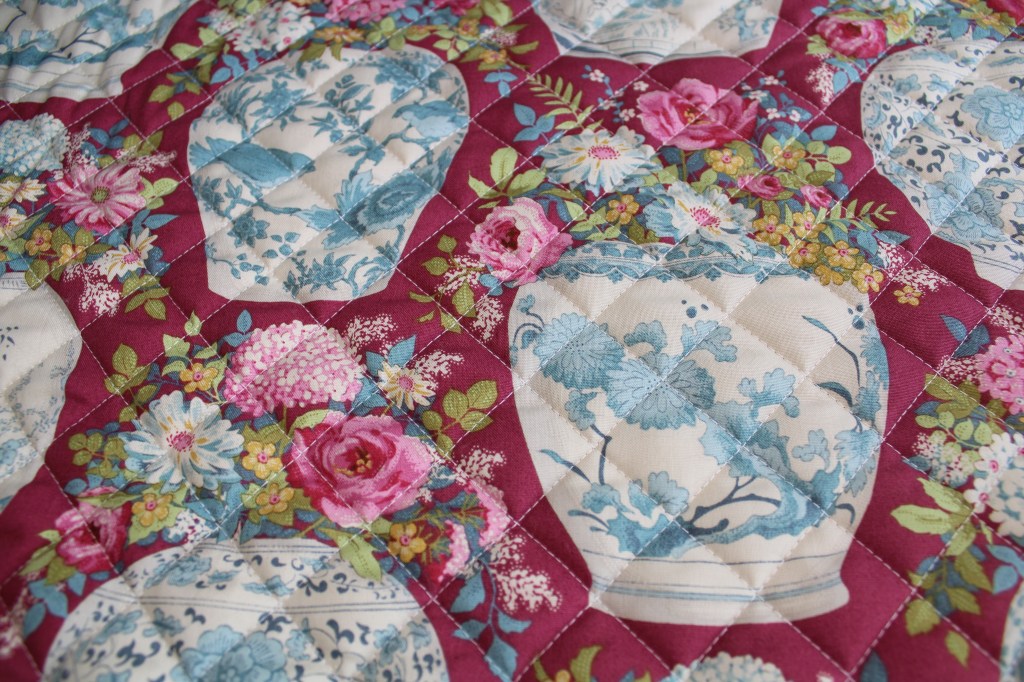
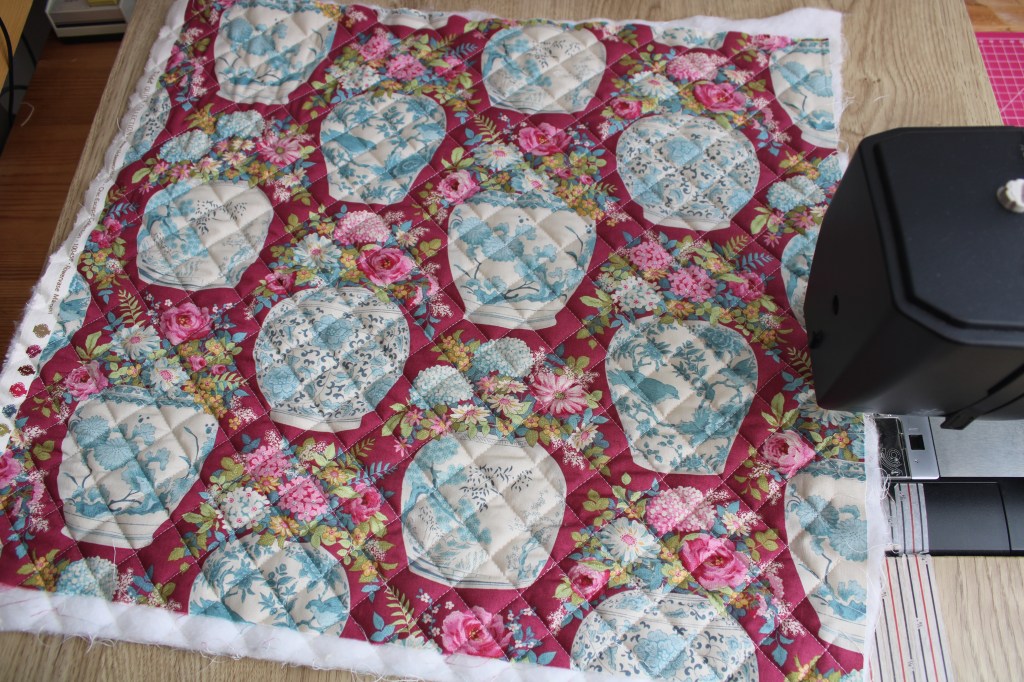
Then I quilted 45° straight lines in one direction before repeating the same in the opposite direction which gave me a cross-hatch pattern across the full sandwich. I quilted this from the lining side because the Lori Holt fabric had the perfect grid pattern in its design! Usually I would mark out the first line in each direction and then use a guide on my presser foot.
Next up is squaring up the sandwich…
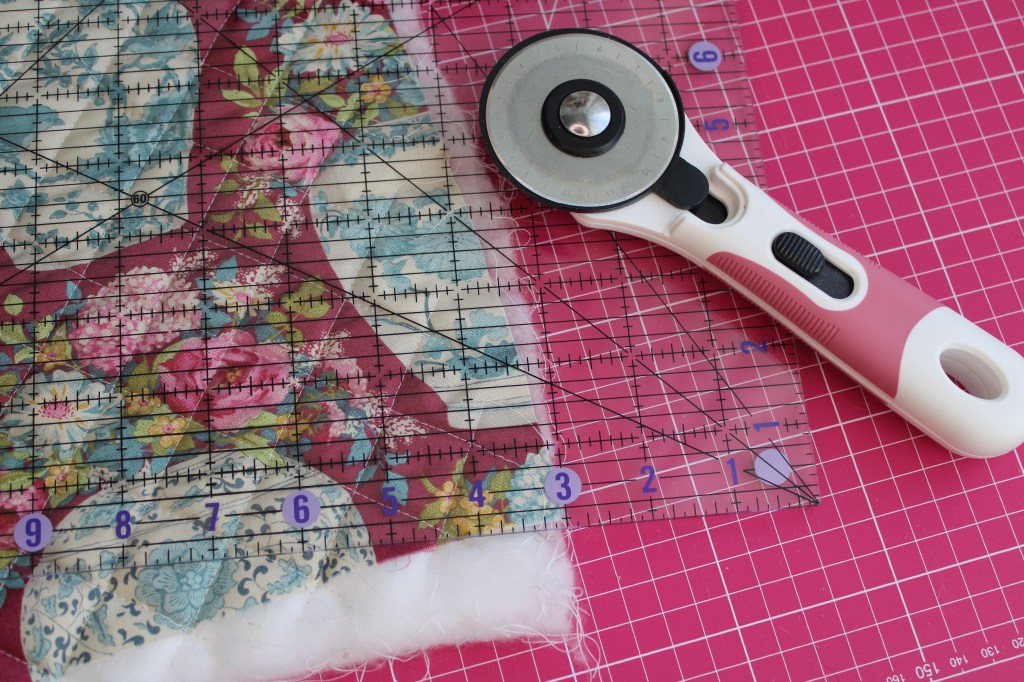
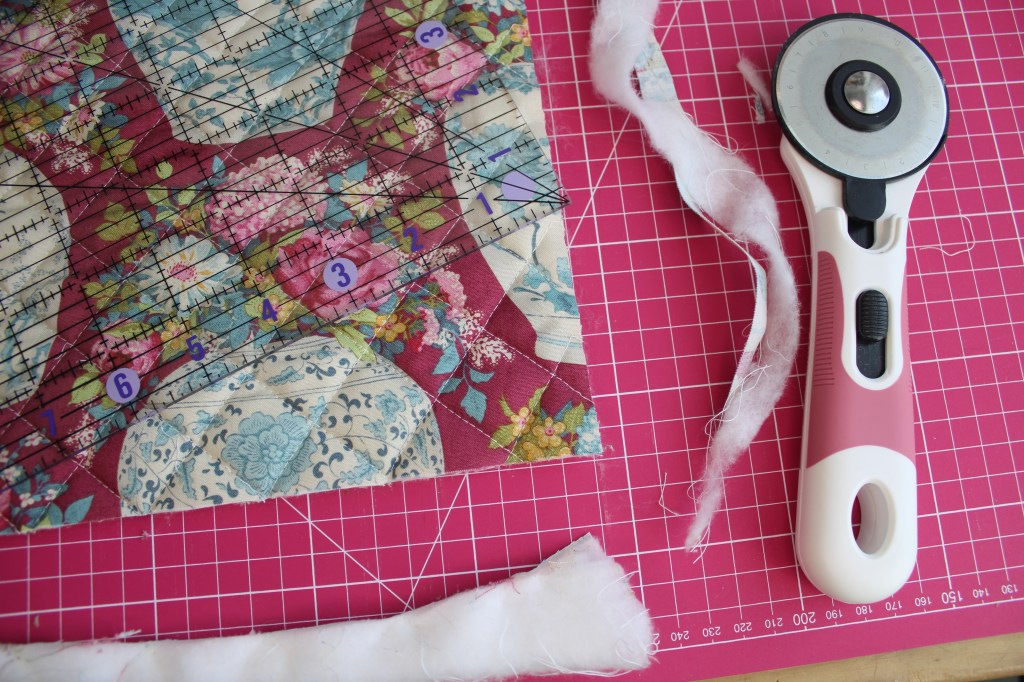
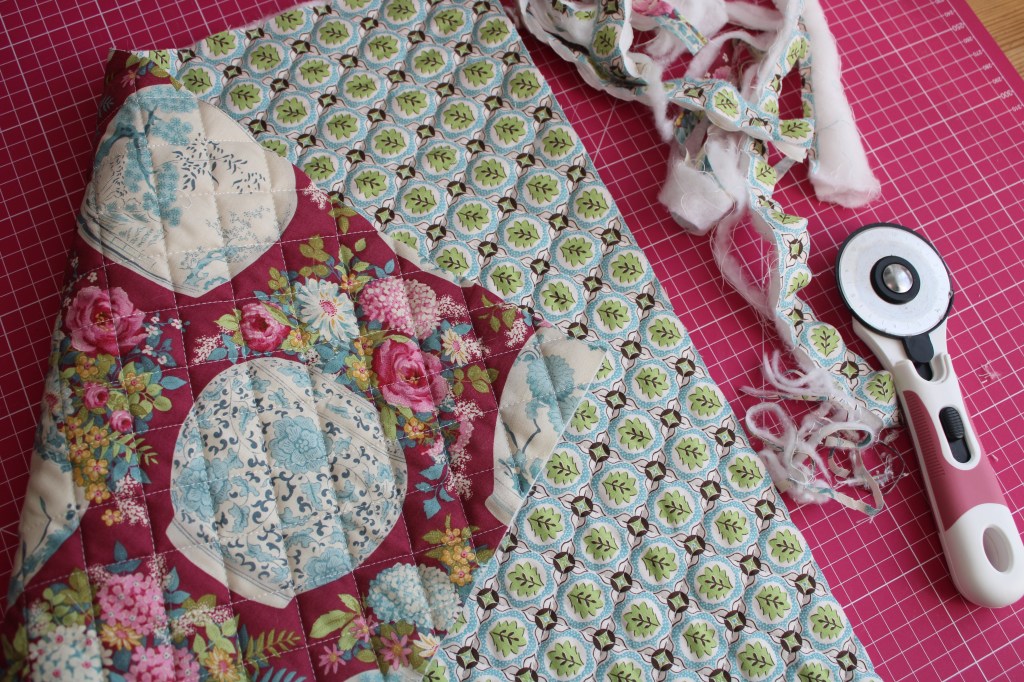
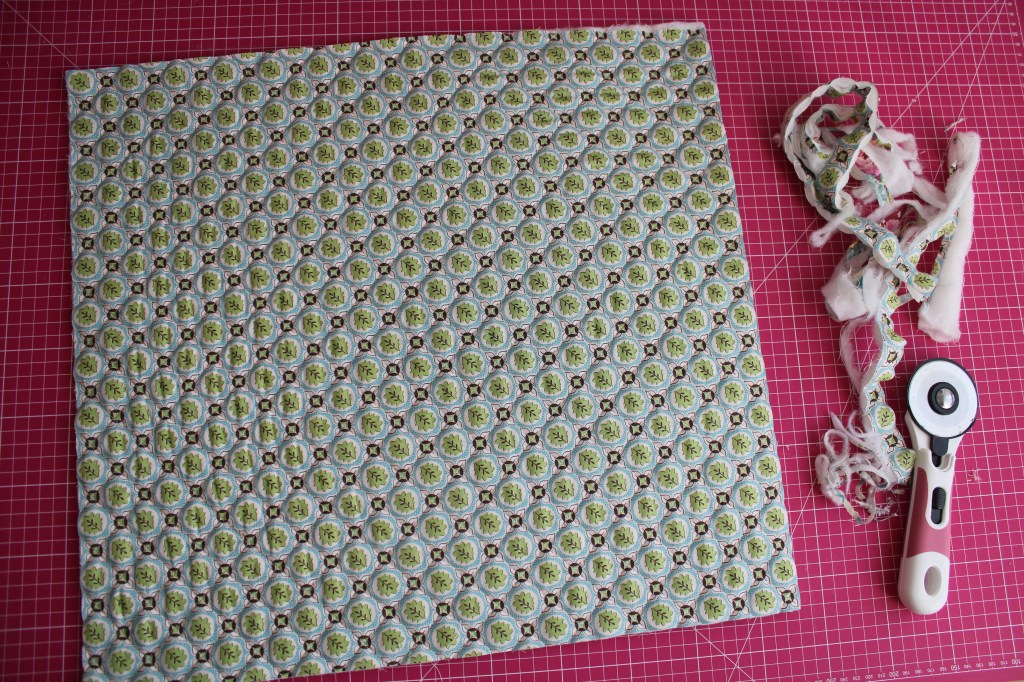
You ‘square-up’ so the edges are neat, removing any waste – as you can see there is minimal cut-off waste in my photos but it is necessary in order to make sure your project will be square and lay flat. This process is just a scaled-down version of when you square up a full quilt.
I am a massive fan of The Quilted Bear and their specialised Needle & Bear tools. Their rulers, mats and rotary cutters are not only aesthetically pleasing but they’re really strong and inexpensive – I should know because I own lots of them! I use the 60mm rotary cutter whenever I am squaring up any kind of quilted sandwiches because I find they’re better where wadding is concerned.
Next up is the binding…
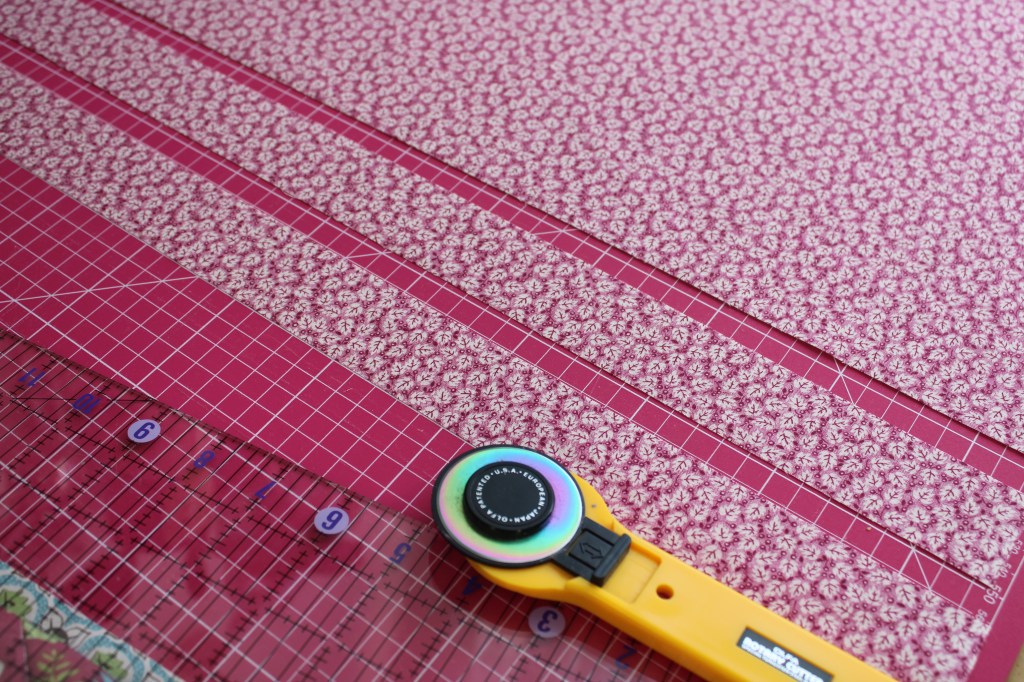
I cut my single-fold binding at 1½” wide. I needed 2 pieces for the top and bottom of my zip, so they had to be the width of the full project. Then I needed enough for the outer edge of the full project plus about 10″ extra to allow for joining the strips together and the final overlap, which we’ll cover a bit lower down.
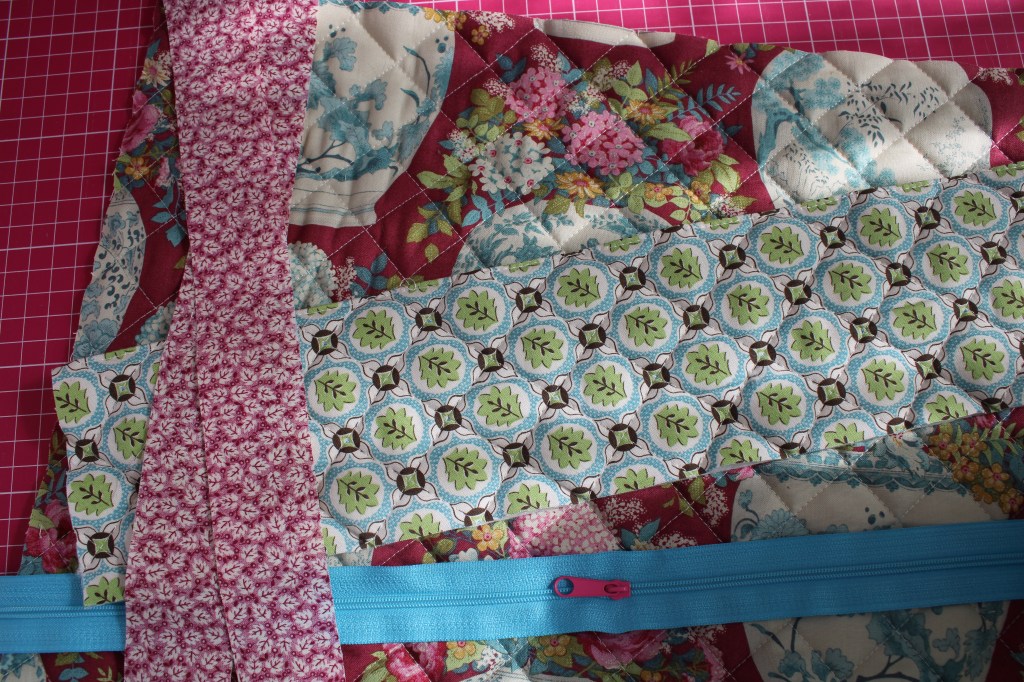
Right…this is the part where things start moving quickly and the bag starts coming together!
In this photo ⇑ we have our finished main quilt sandwich – mine is the Tilda Flowervases fabric and on its reverse is the Lori Holt fabric which is the lining. Then we have a smaller quilt sandwich (the Lori Holt leafy print again) which has been quilted in the exact same way as the larger piece but with the same fabric on both sides, purely out of preference, this will become the front which is the part above the zipper and vinyl portion. Then we have the blue zipper with the pink zipper pull and also the 2 pieces of binding that will go either side of the zipper tape.
We are now ready to begin construction of our bag!
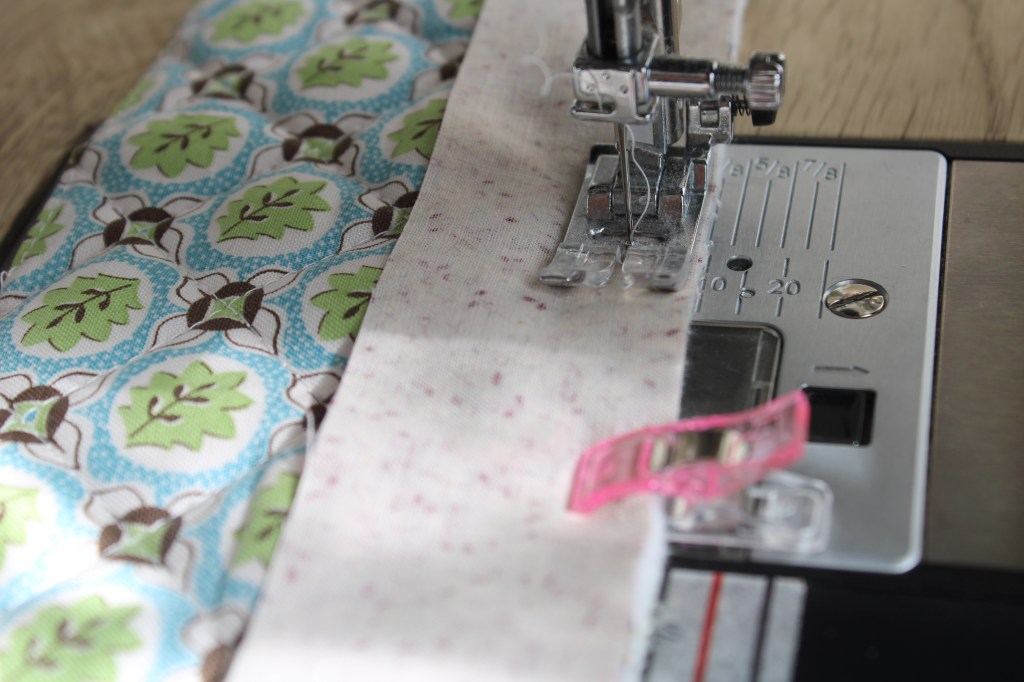
Pin or clip your binding (right sides together) to your bag front sandwich and sew in place using your preferred seam allowance – for a 1½” binding strip I will use a ⅜” seam allowance and after all the folds have been done the back binding will measure approximately ½”.
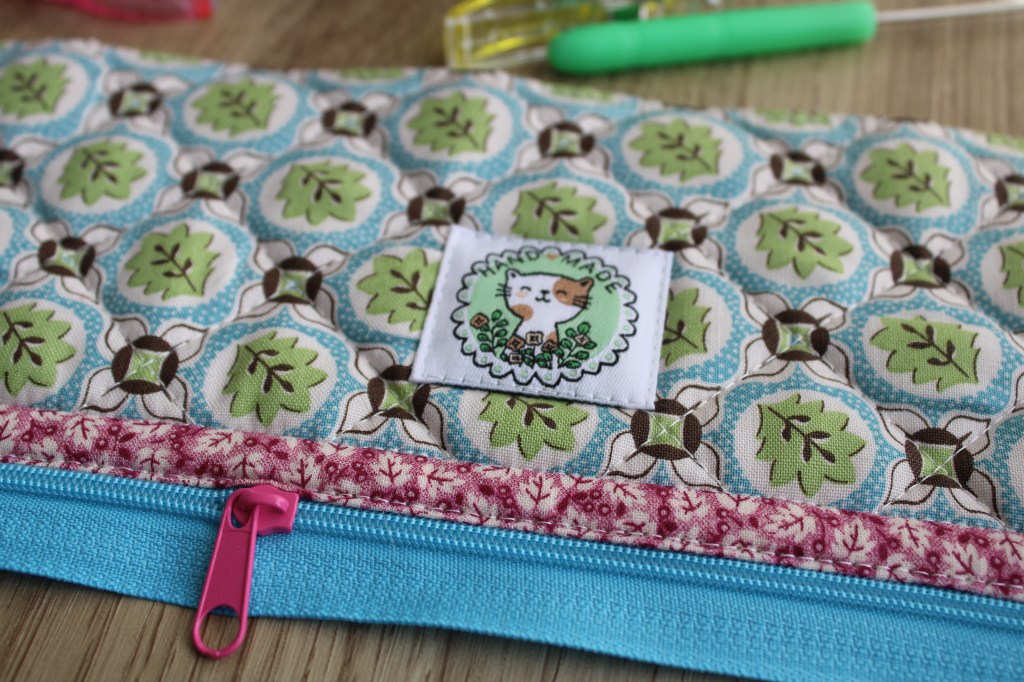
I realise this photo jumps ahead a little bit but the photo I took was faulty – boo hoo!
Once the binding has been attached to the front of the quilt sandwich it needs folding around the edge and the whole thing can be sewn to the top edge of the zipper which will not just attach the zipper to the front of the bag but will also secure the binding in place. I also added a cute cat label to my bag front.
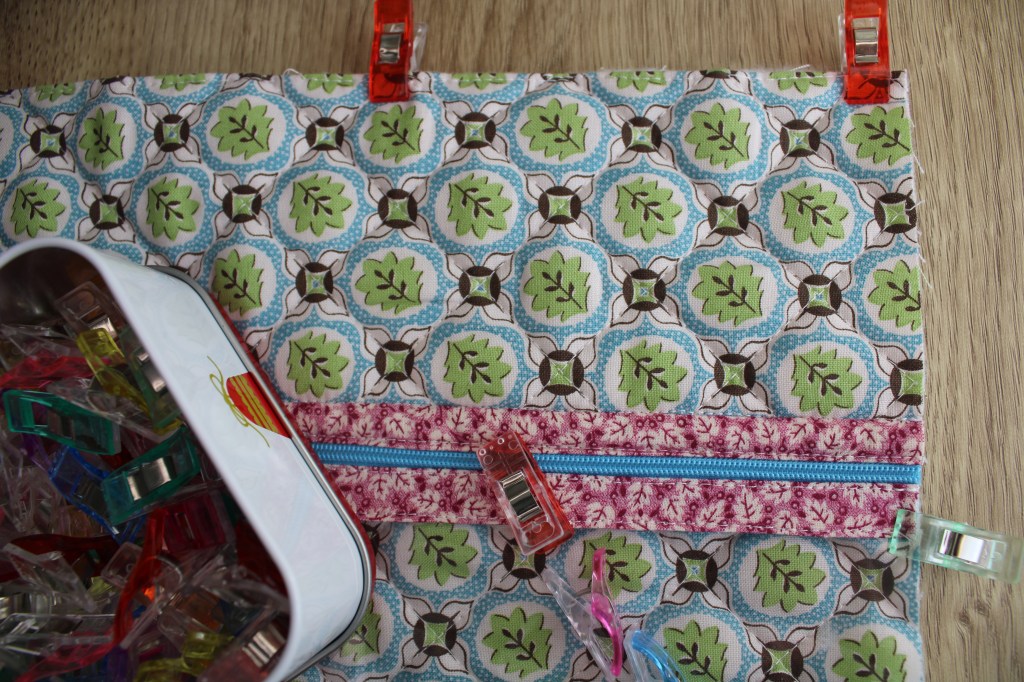
You do exactly the same thing by attaching the binding to the top of the piece of vinyl. You then fold that over to the back and sew the bound vinyl to the bottom of the zipper tape.
Then you have a completed ‘front’ which comprises of the upper fabric part, the lower vinyl part and the zipper inbetween. If you want to add any labels into the seams then do so at this point as you clip the front to the back and use a basting stitch all the way around, approximately ¼” in from all the edges so it will be hidden in your final seam allowance.
~ Don’t use pins on your vinyl as the holes will remain visible. If you do use clips then make sure they stay within your seam allowance or the grip marks will show on your vinyl.
Next up…binding…
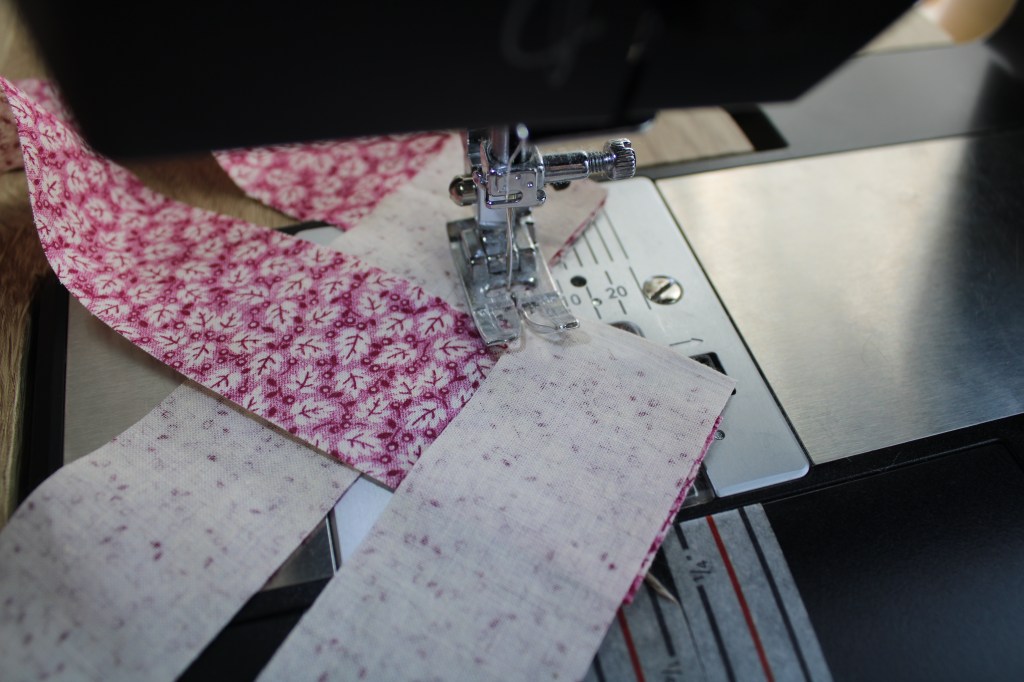
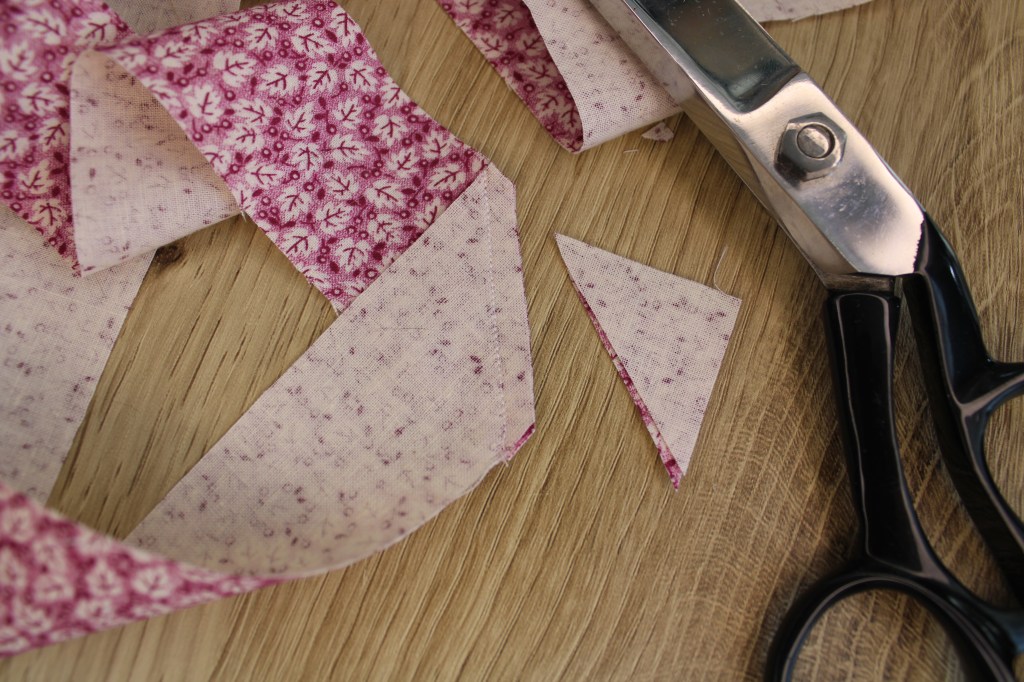
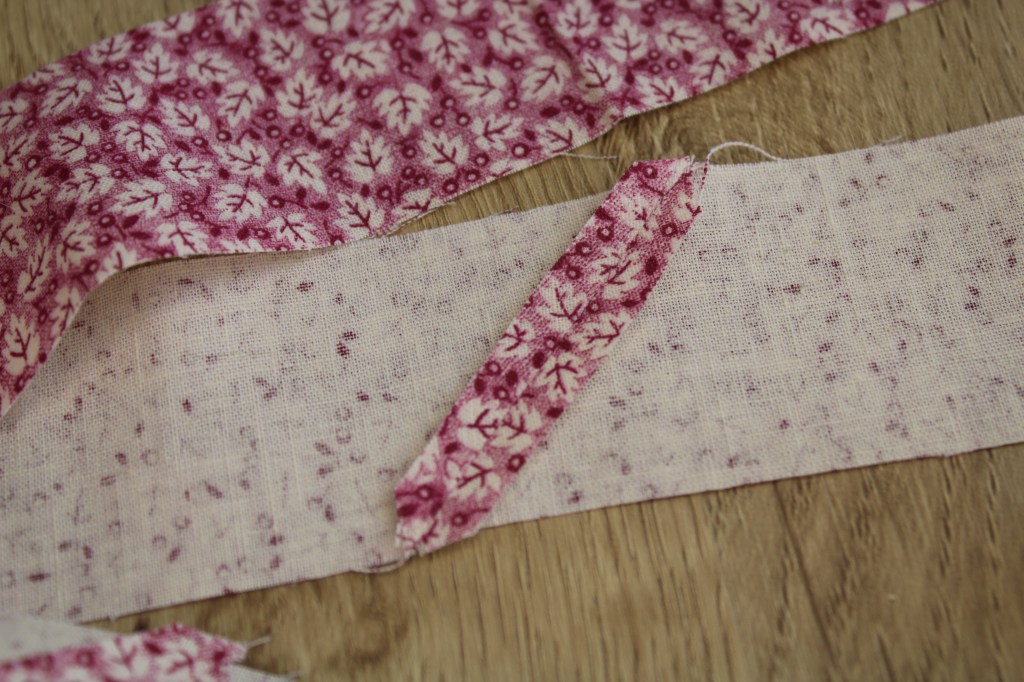
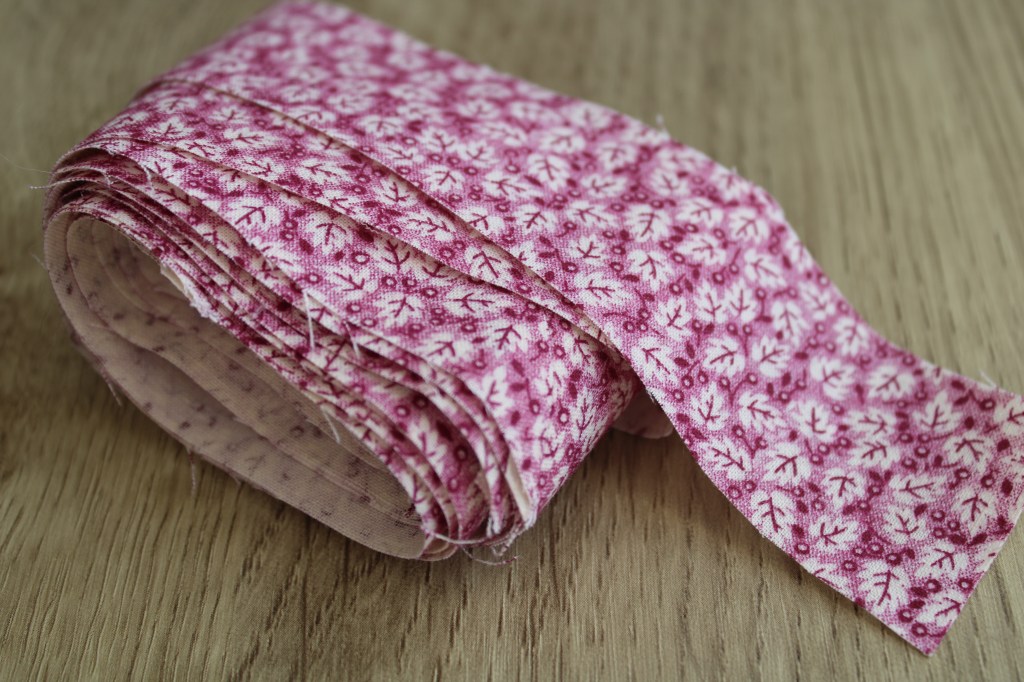
Sew your strips of binding together using your preferred method, I chose to join them diagonally to reduce bulk inside the binding seams. Then once your full strip is the desired length, chop off the excess from the seams and press the seams open. Roll up your binding and you’re ready to attach it to your project bag.
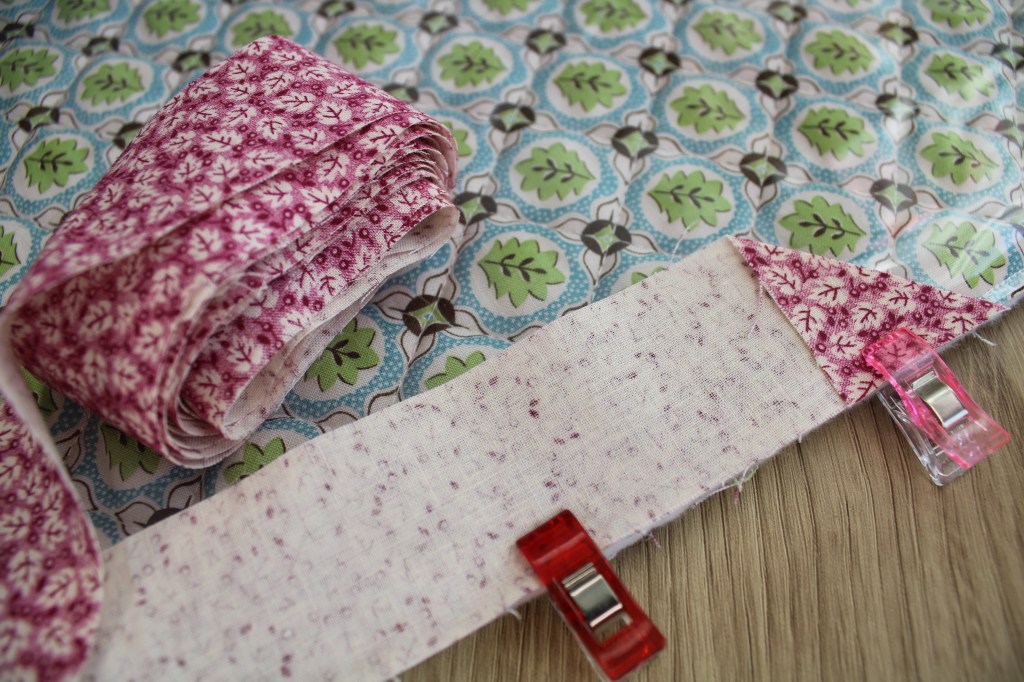
I prefer to start adding my binding to the centre-bottom of any project I’m making. Here I folded over the edge of the single-fold binding so there is a neat 45° edge that will become the outermost end of the finished binding. And it’s at this neat edge that we’ll begin sewing it down using the same ⅜” seam allowance I mentioned earlier.
I don’t clip the binding down very far as it’s not necessary and you need the binding to be free for when you reach the corners.
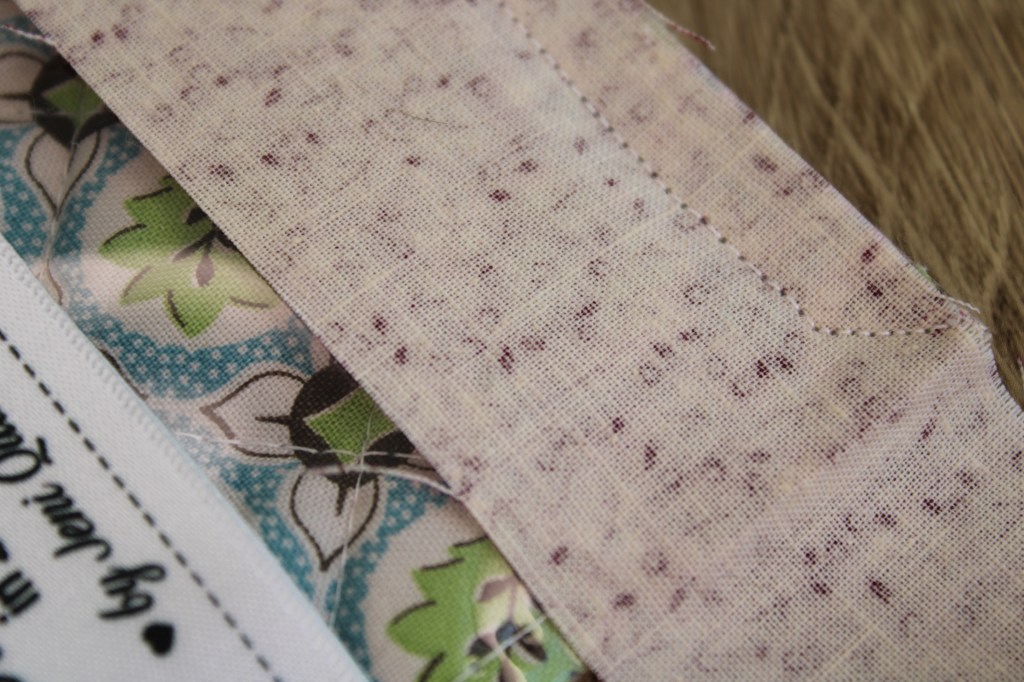
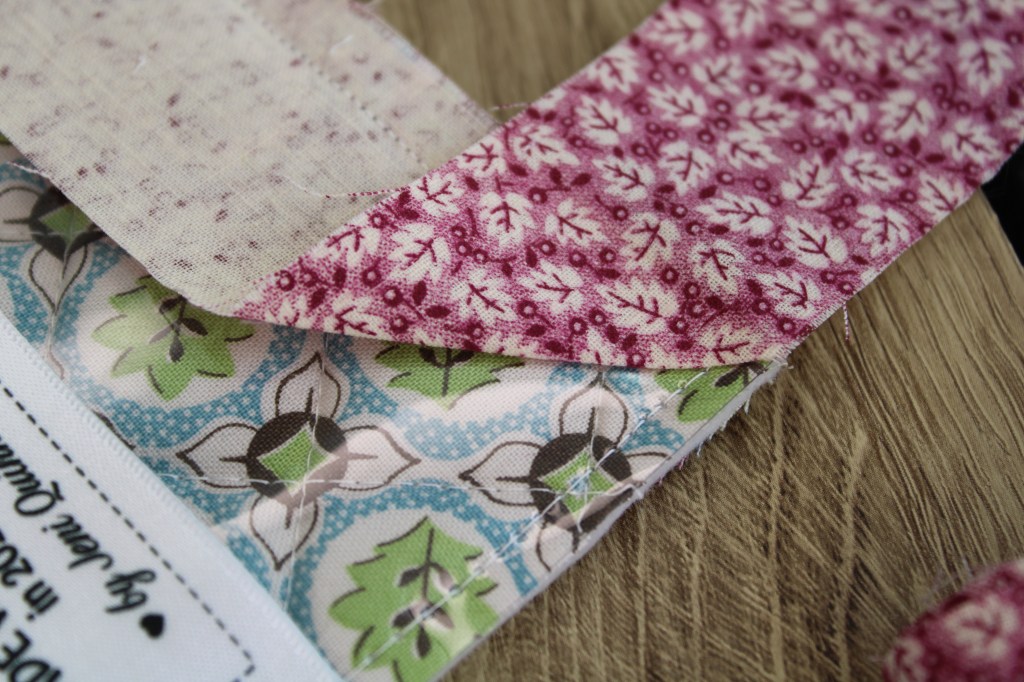
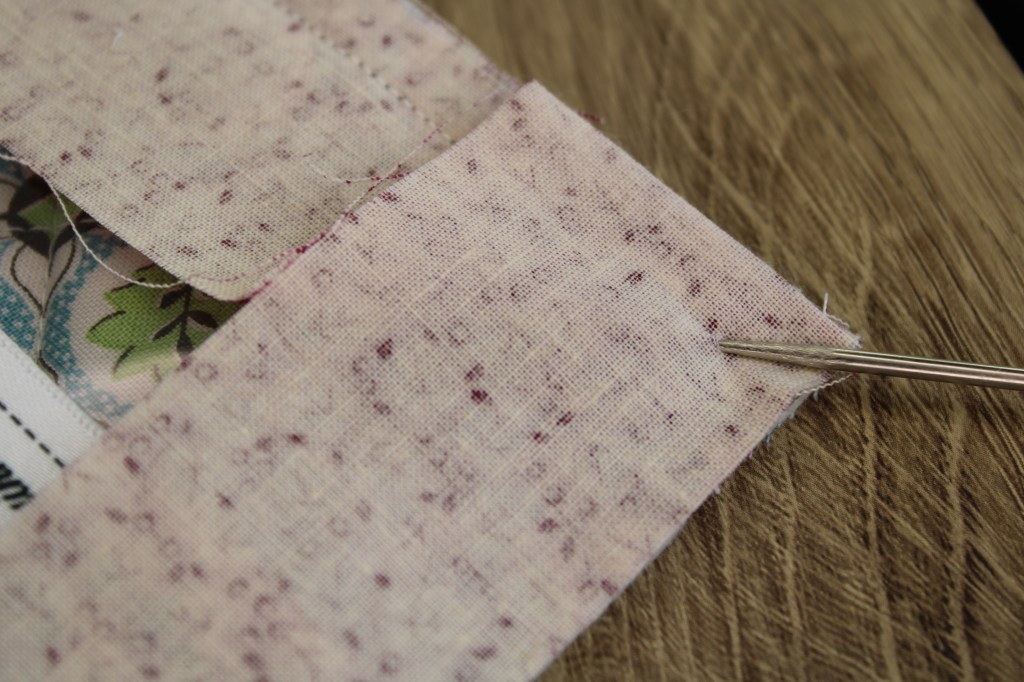
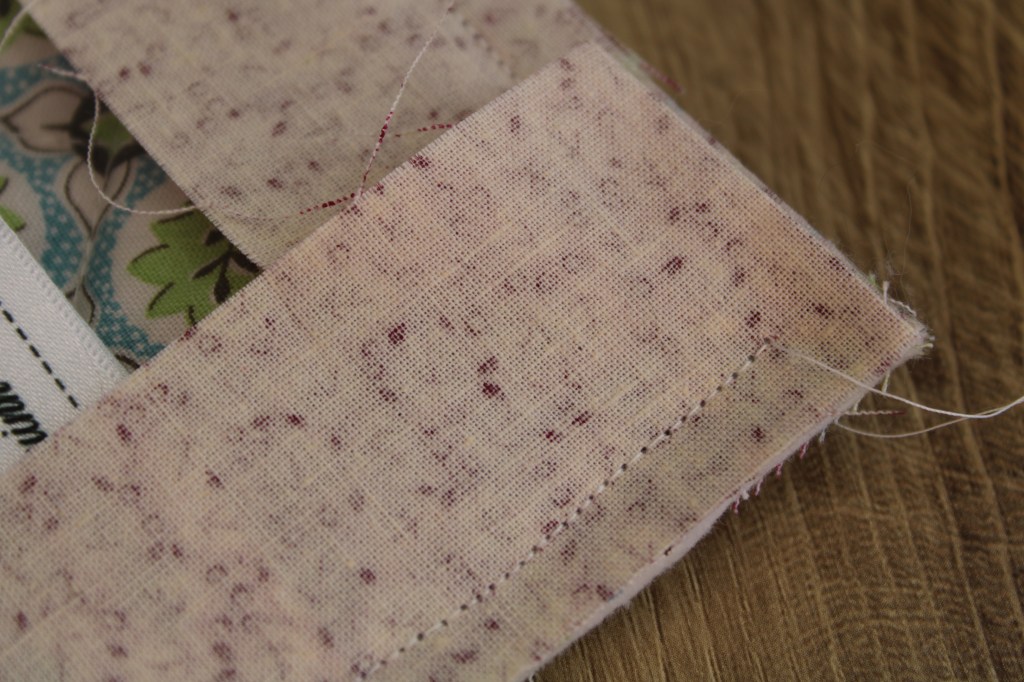
When you reach the corner you need to stop sewing before you reach the edge. I am using a ⅜” seam allowance so I need to stop ⅜” in from the edge, then you pivot the bag so you can sew a short angled line to the corner point (Pic.1). Then you cut the thread and pull your binding fabric up and away from your bag to begin forming your mitred corner (Pic.2), followed by folding it back down the next edge of your bag before finally starting to sew in the same place you previously cut your thread (Pic.3 – where the pointer is showing you). Pic.4 shows the new stitch line at the start of the new edge which then continues to the next corner before repeating these steps all over again for each remaining corner.
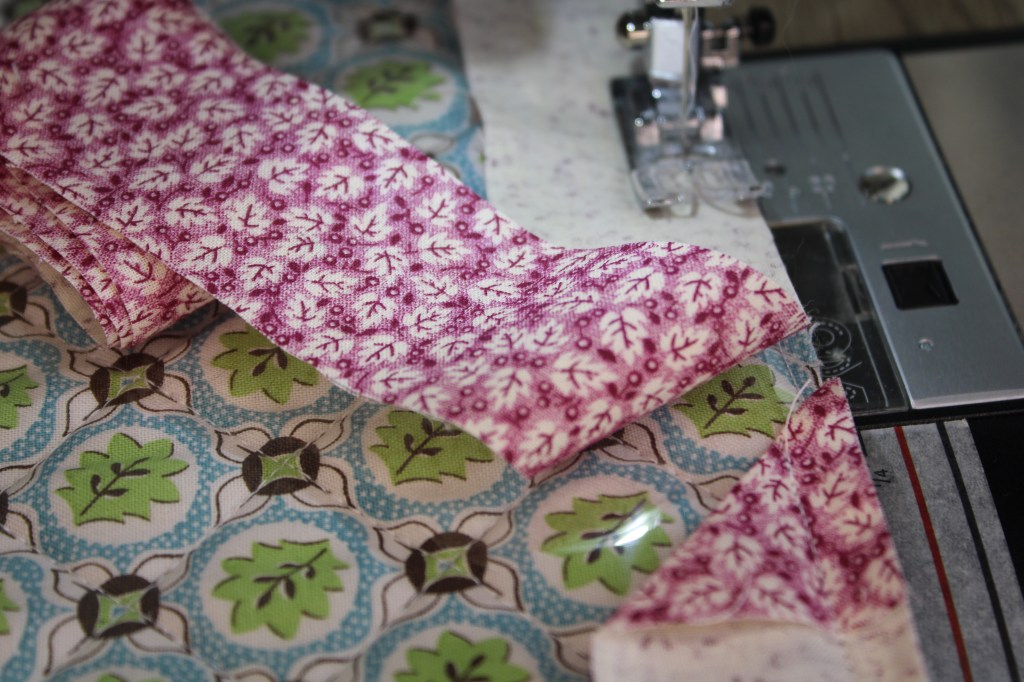
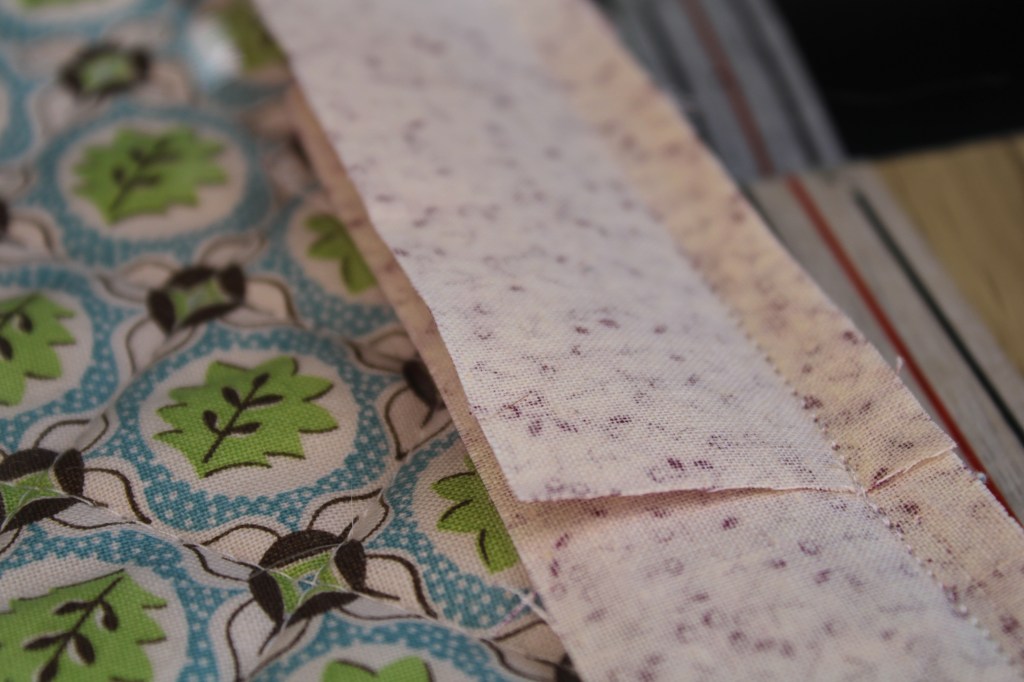
When you’ve sewn all around the bag and reach your starting point simply sew a few inches of binding over the top of where you started and trim any remaining binding off.
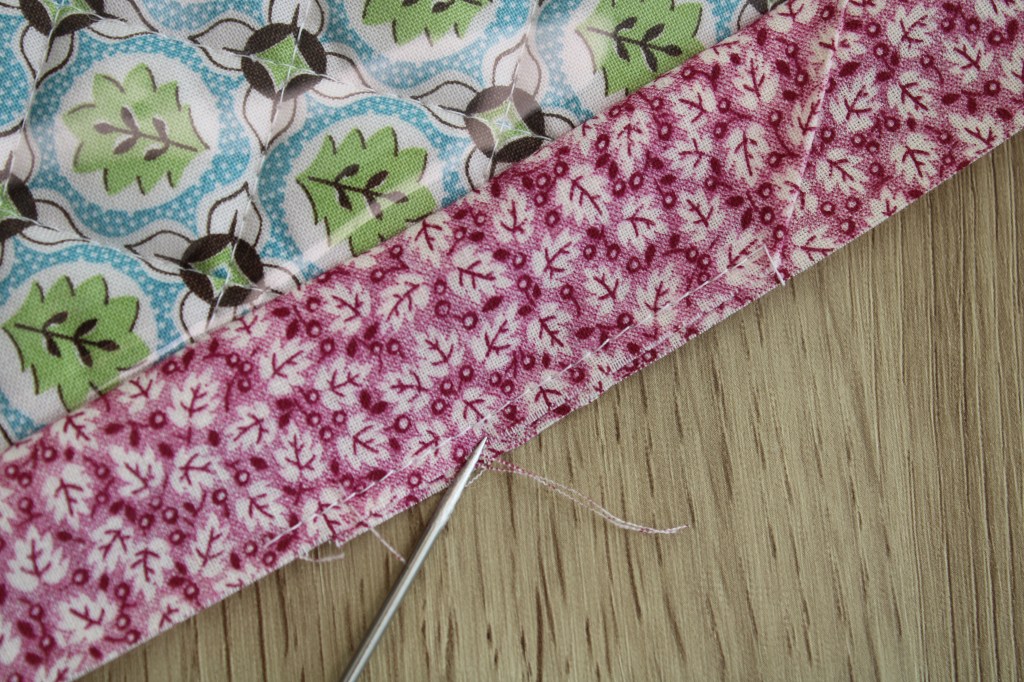
Before sewing your binding into place carefully finger-press the binding out from the seam – do not iron it as it will melt your vinyl. Then sew a line of stitching right at the raw edge, where the beginning and ending of your binding meet, just to hold them both together as one piece. This will be hidden inside the folded binding and is purely to help you not get frustrated as you clip and sew everything into place!
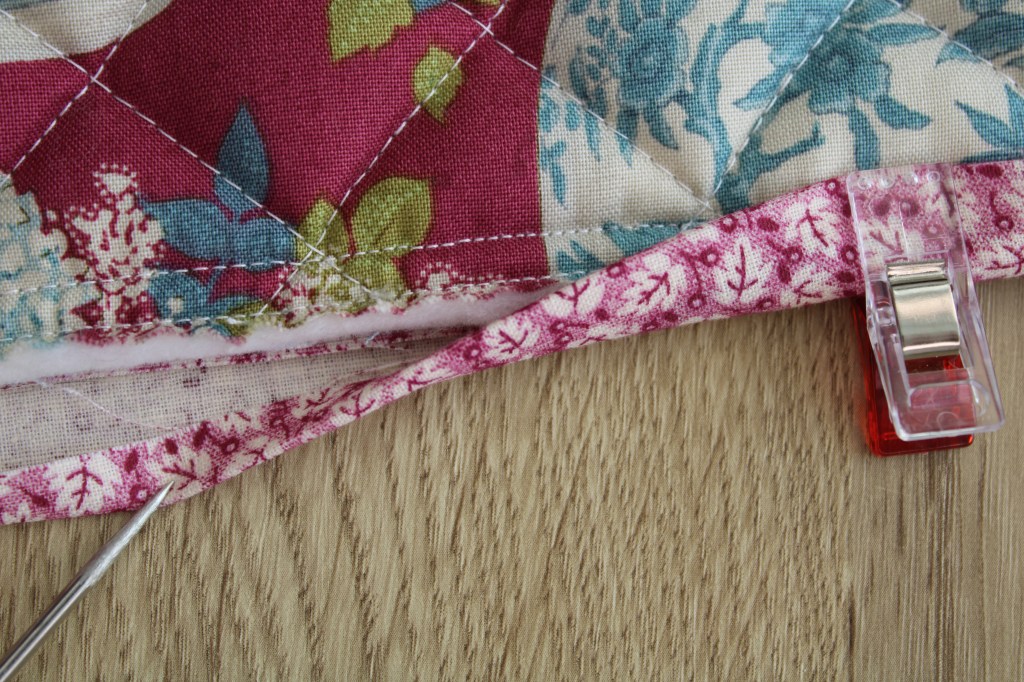
Follow the same process with folding over the binding and clipping into place that you used when attaching the binding to the front zipper edges earlier – making sure you are covering the line of stitching you created when attaching the binding to the front of the bag. You will be sewing this binding down from the other side, the front. By covering the previous stitch line as you clip it down, you are ensuring you will catch every part of the folded edge in your seam.
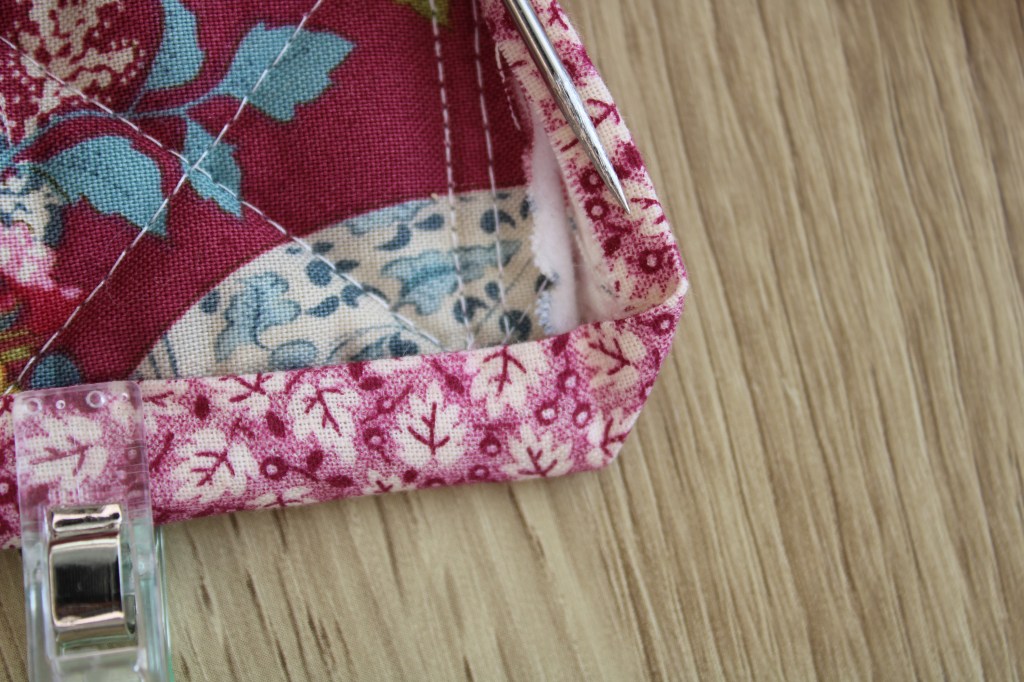
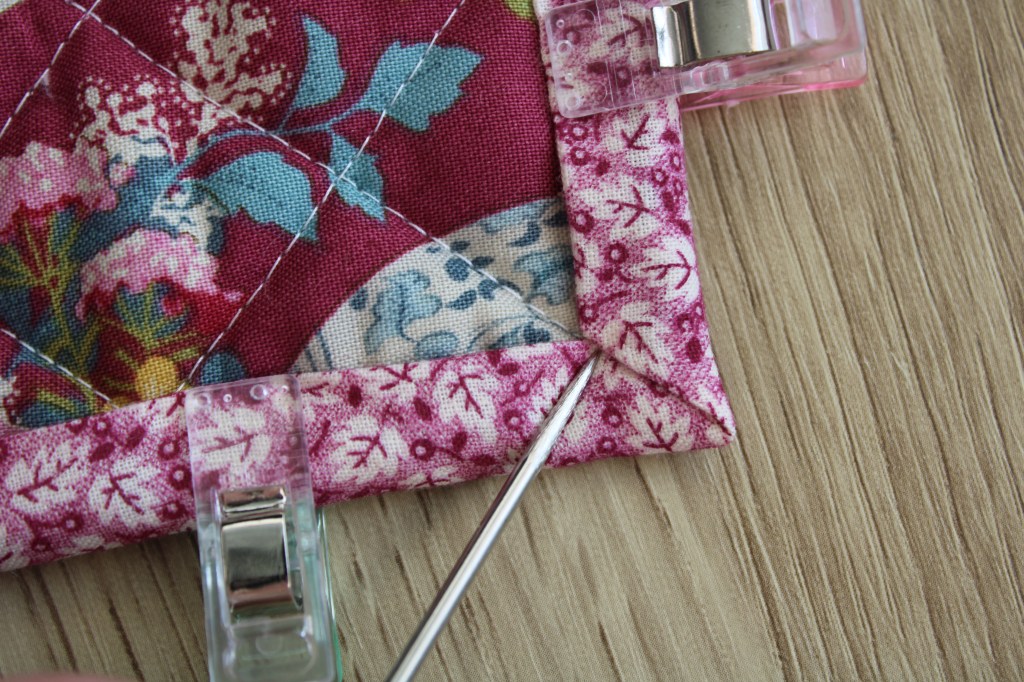
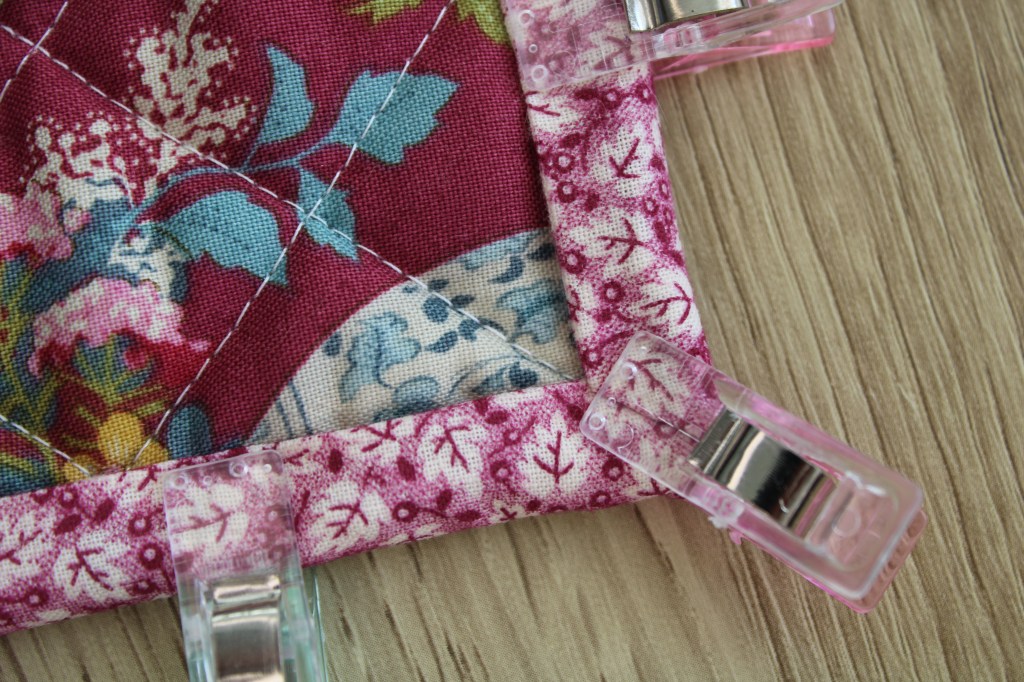
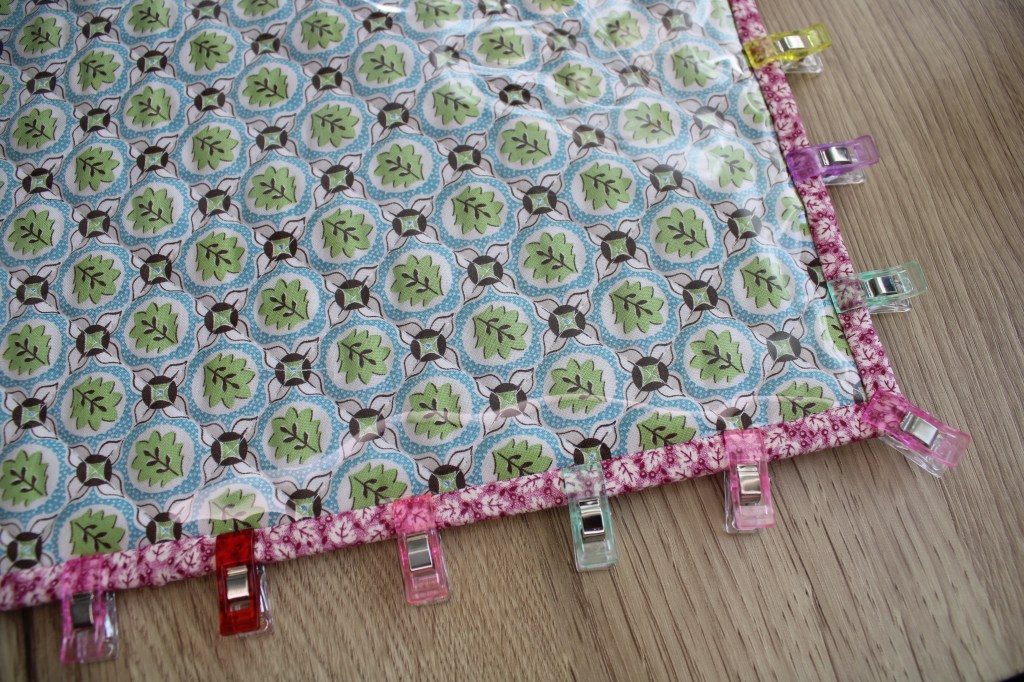
When you reach the corners you need to fold one edge all the way down until the furthest part forms a crisp 45° angle (Pic.5) and then fold it over so both edges meet and you have a perfectly mitred corner (Pic.6). Then clip over the corner so the cheeky thing doesn’t budge (Pic.7)! Pic.8 is how your project bag should look once every edge has been clipped into place.
Only one step to go…you are now going to stitch-in-the-ditch from the front in order to secure that clipped edge down at the back. If you happen to miss any of the folded edge at the back in your seam then either go over it again with the machine or stitch it in place by hand.
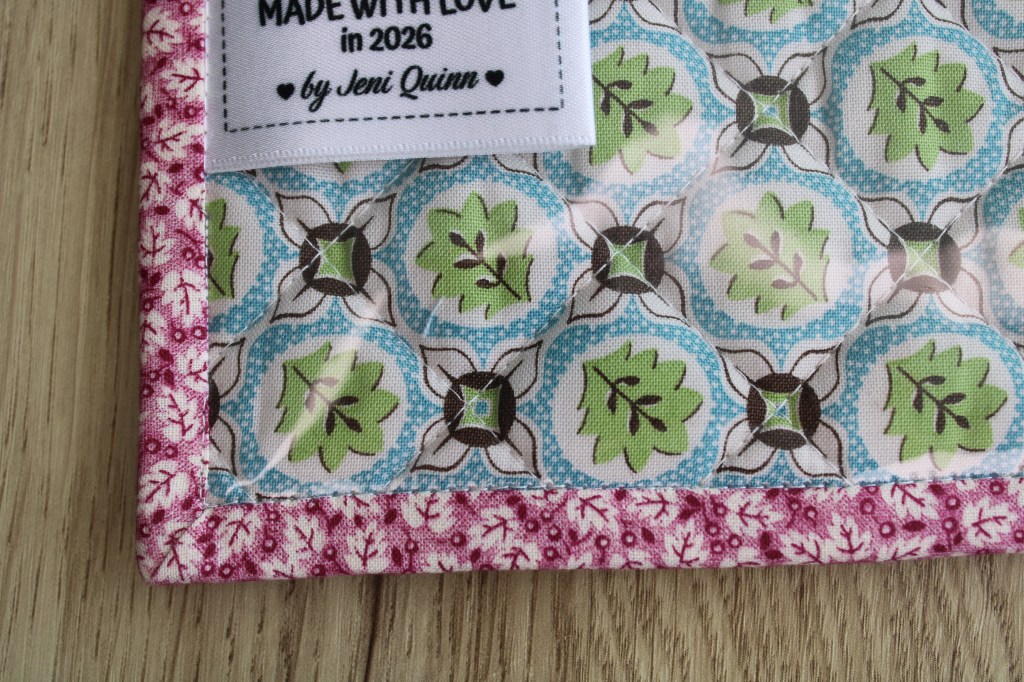
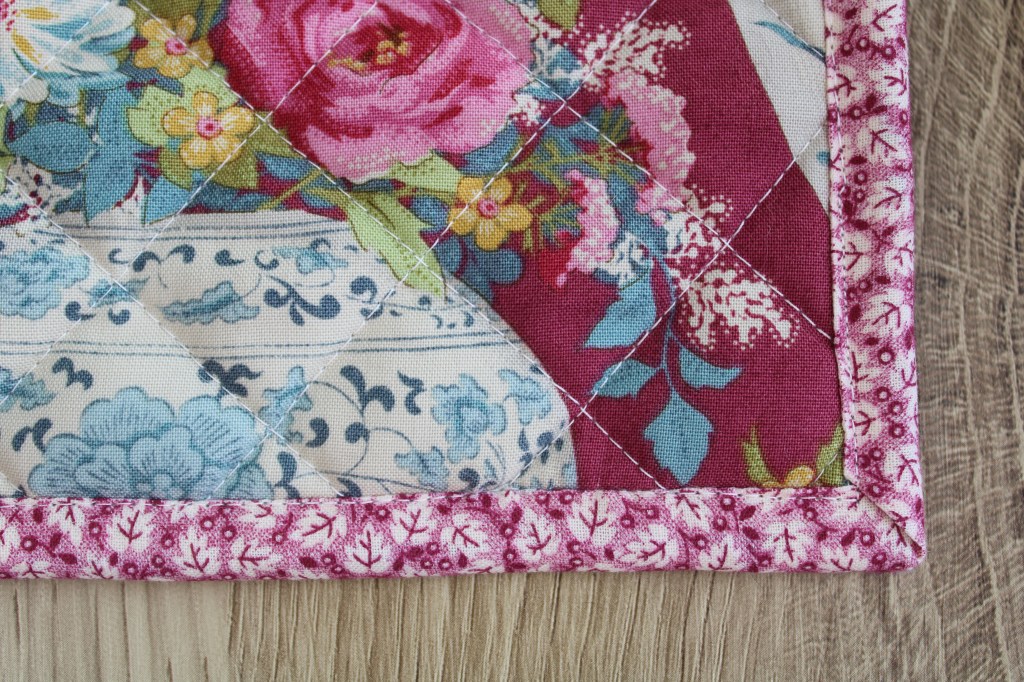
These images show the same finished corner from the front (Pic.9) and the back (Pic.10) so you can see how the stitching is practically hidden in-the-ditch on the front and right up close to the edge on the back.
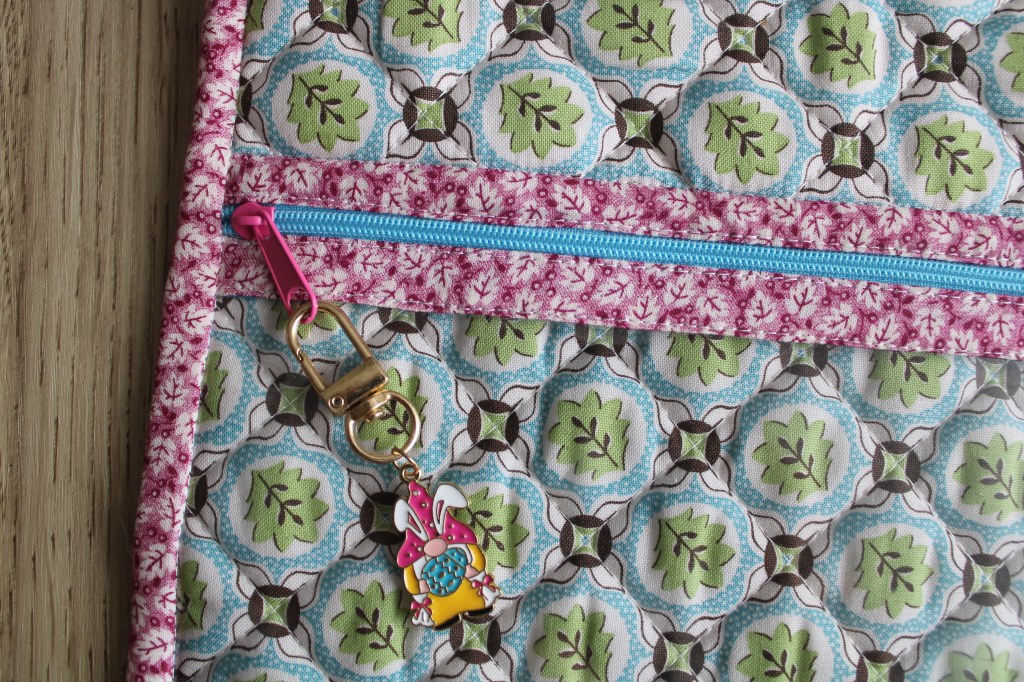
And there we have it – one completed flat, vinyl-fronted zipper bag to store your projects in. You can store whatever you want in these but because they’re so big and flat they are great for finished quilt tops, quilt blocks, quilting hoops, embroidery and cross-stitching frames and projects, artwork and projects…the list is endless.
I added an Easter charm because I made this over the Easter weekend and it was so much fun.
Will you be making one?
Let me know in the comments what you think of mine and what you’d store in one.
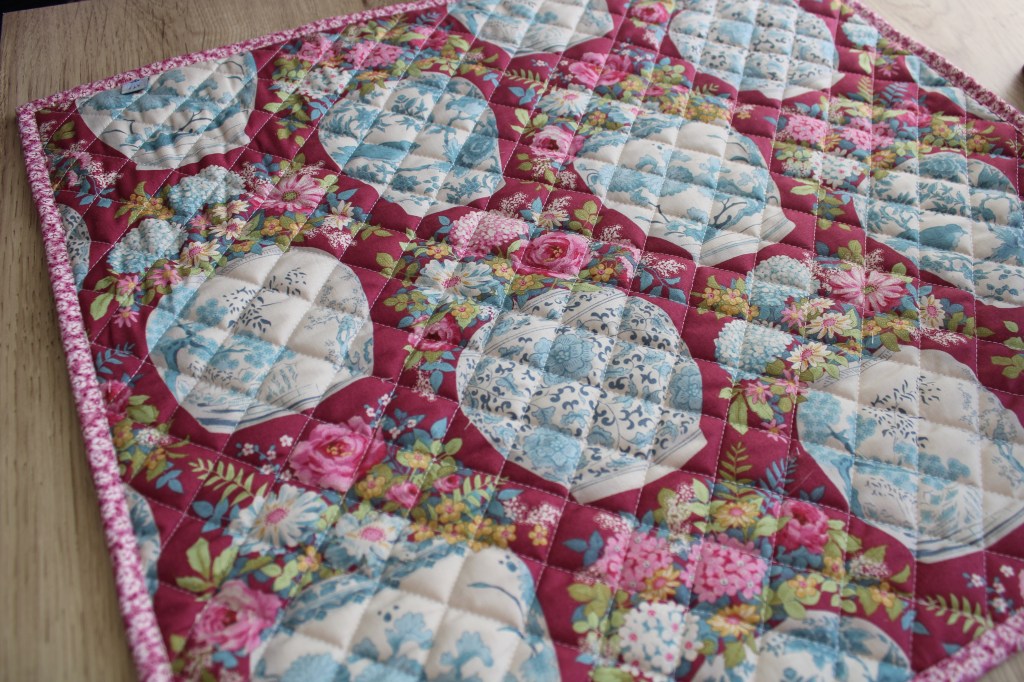
Here’s one final photo to swoon over the gorgeous Tilda fabric…😍
Happy stitching everyone x


Leave a comment